NOTE: This video/article applies to all four types of thermocouple connectors (male & female, locking & non-locking), even though the male locking type is used in this example.
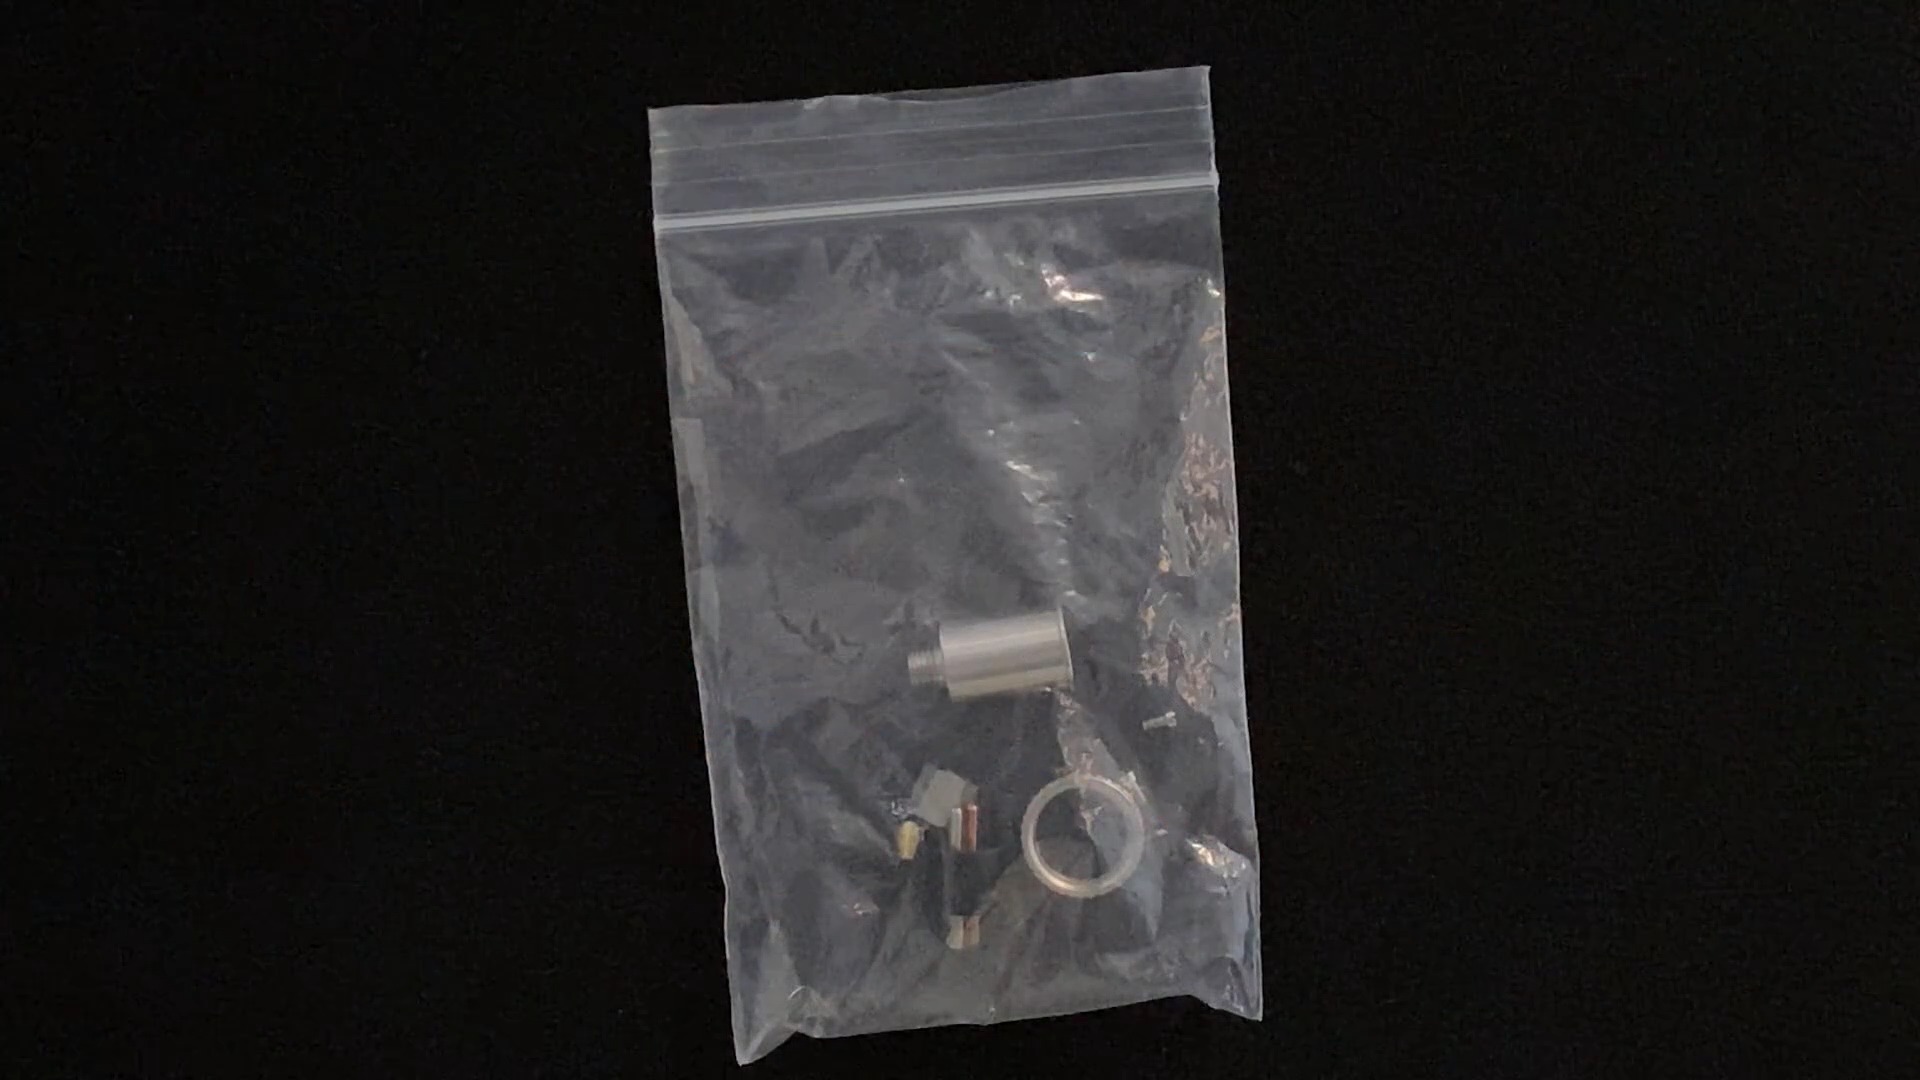
When you receive your Thermocouple Connector, it will come unassembled in a small bag.
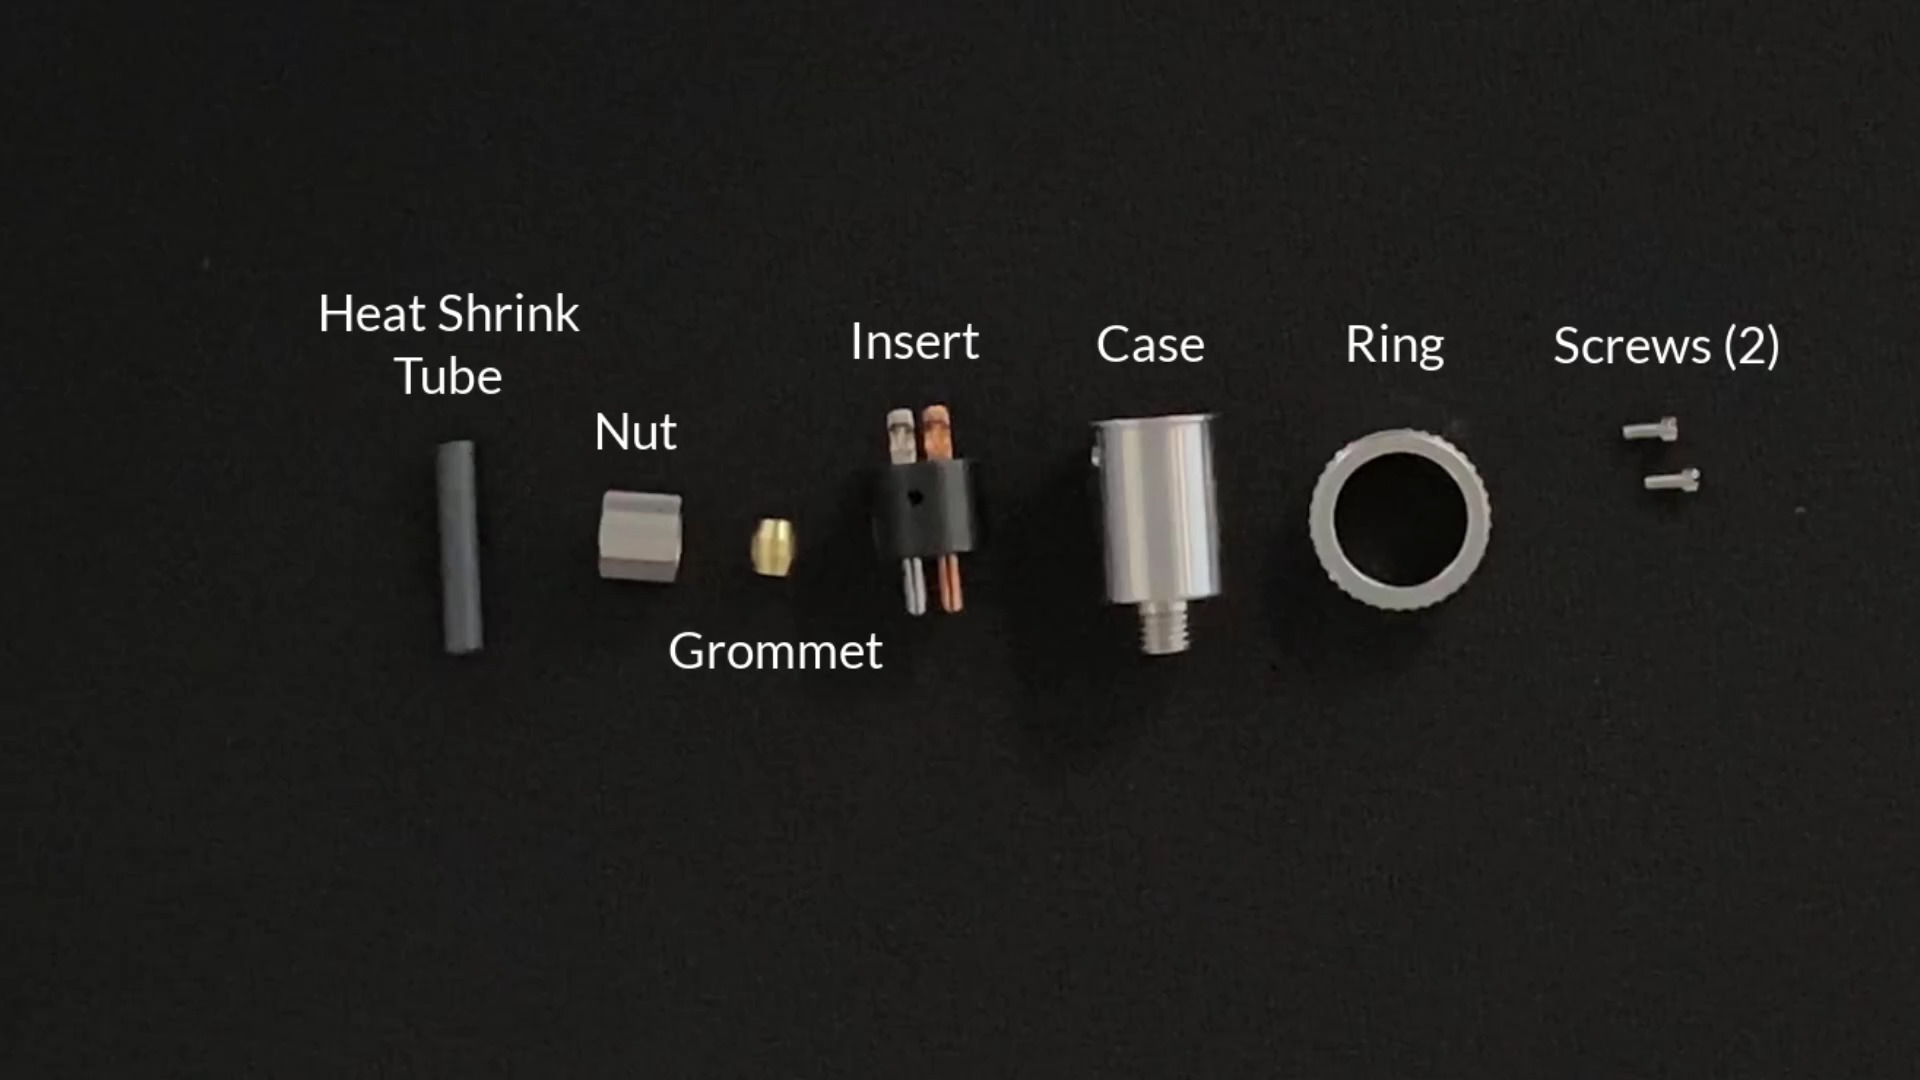
The bag consists of the following pieces: a heat shrink tube, a hex nut, a brass grommet, a connector insert, a stainless steel case, a stainless steel locking ring, and two screws.
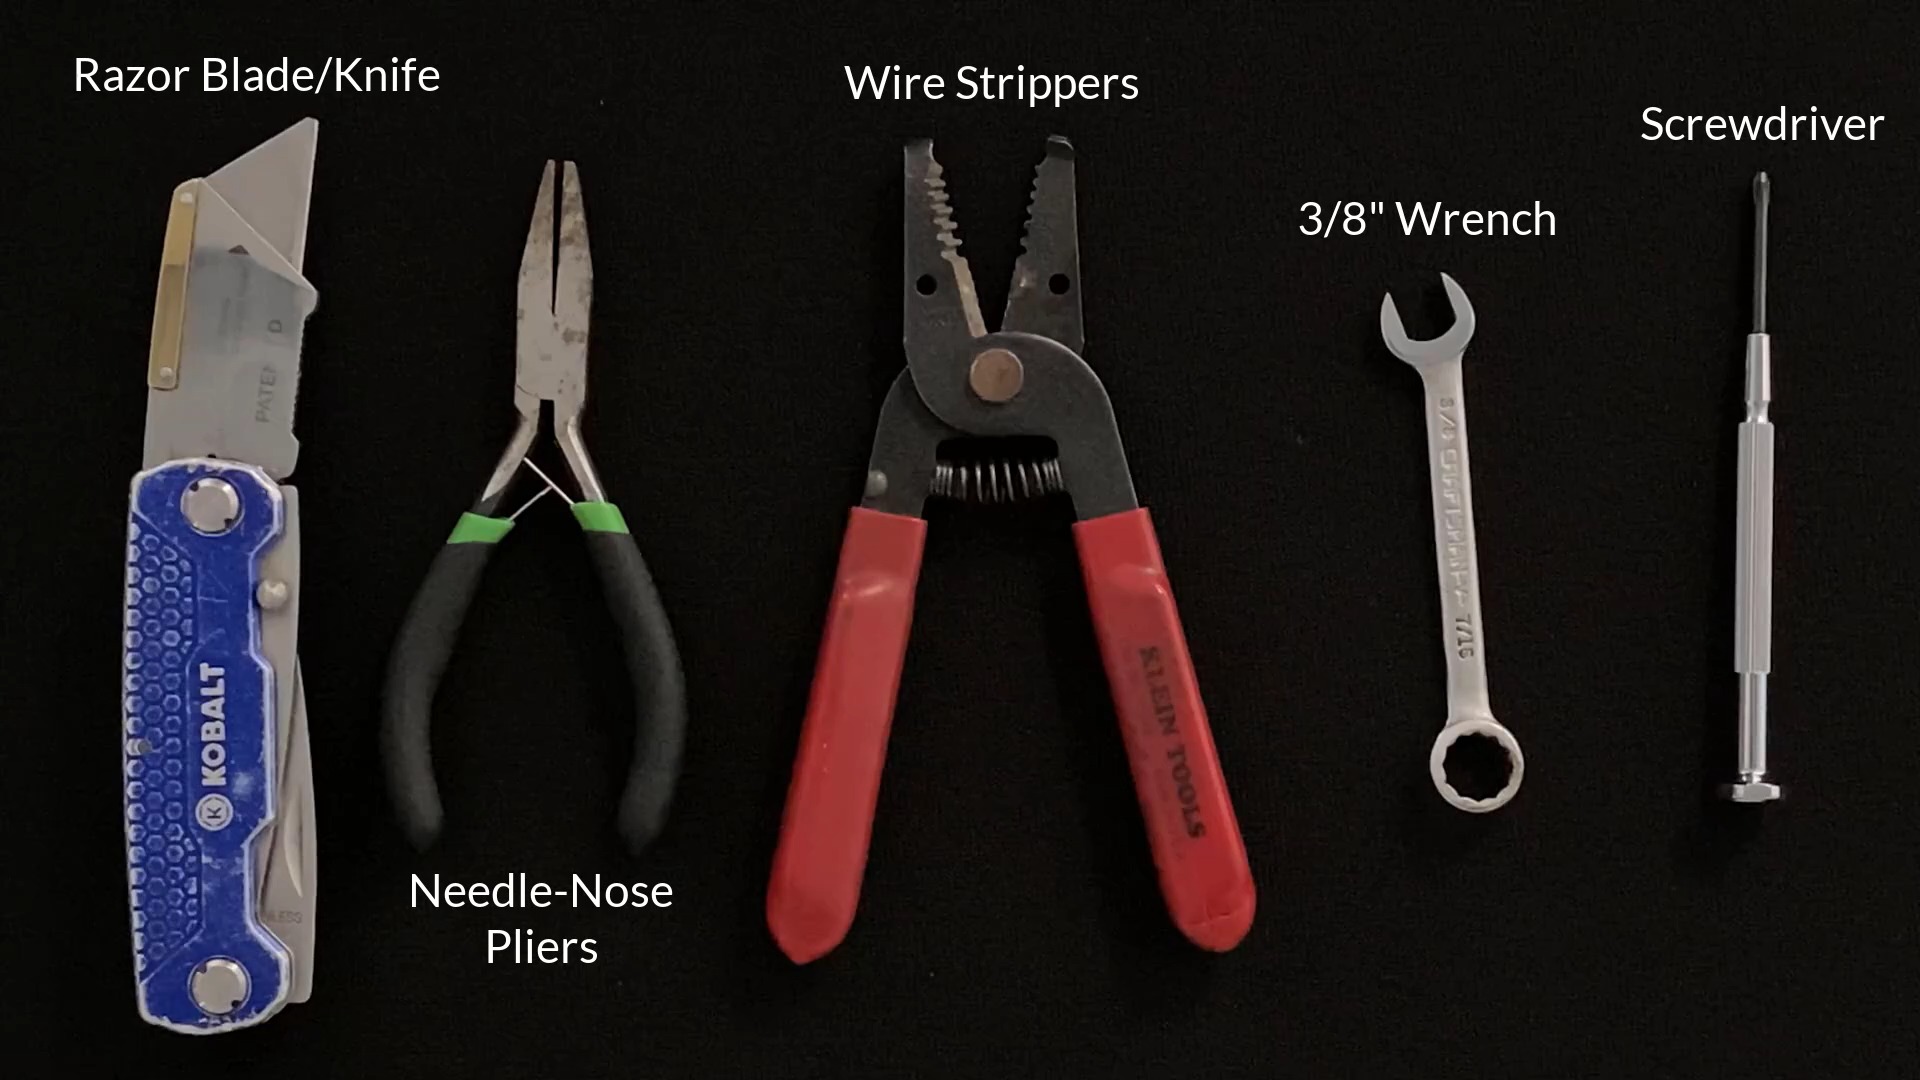
You will need the following tools: a razorblade/knife, needle-nose pliers, wire strippers, a 3/8" wrench, and a screwdriver. You will also need soldering equipment, a heat gun, and caulk/sealant.
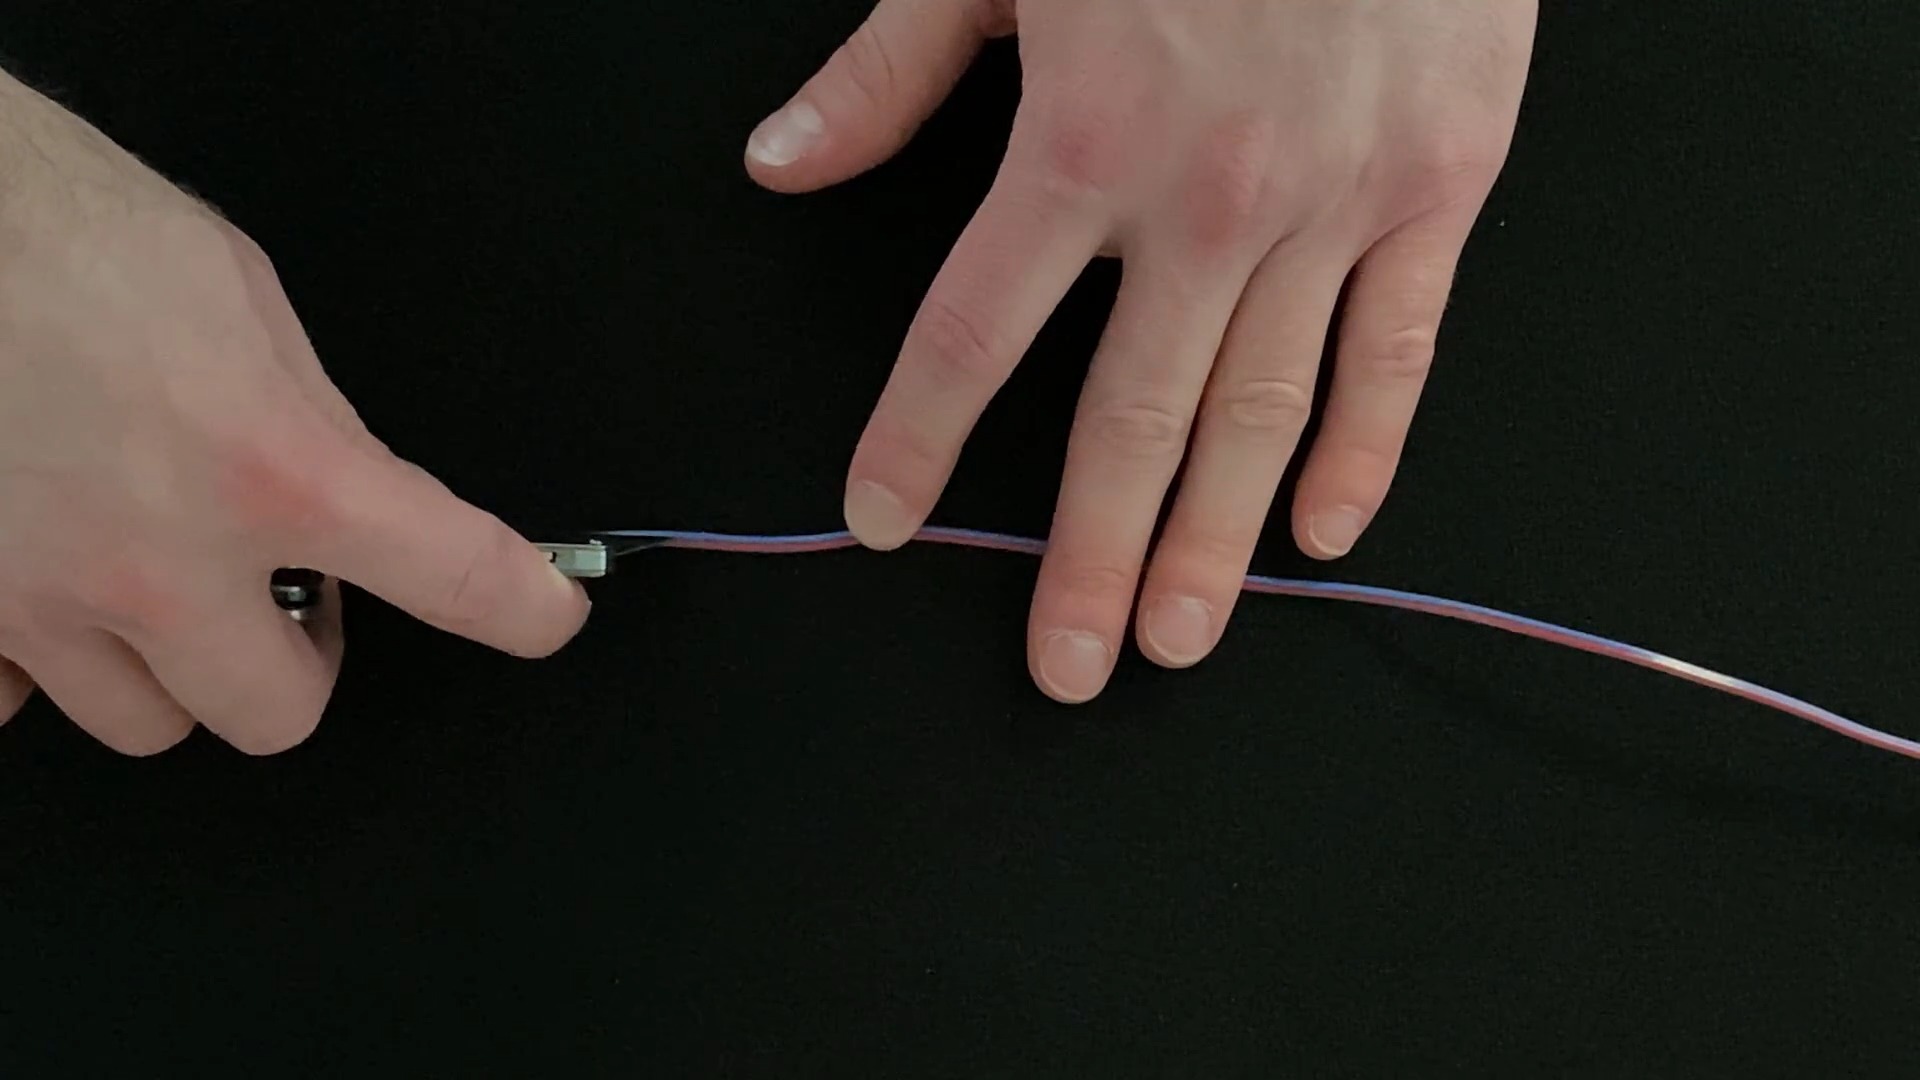
Split the wires with a razorblade by cutting between the copper and constantan wires.
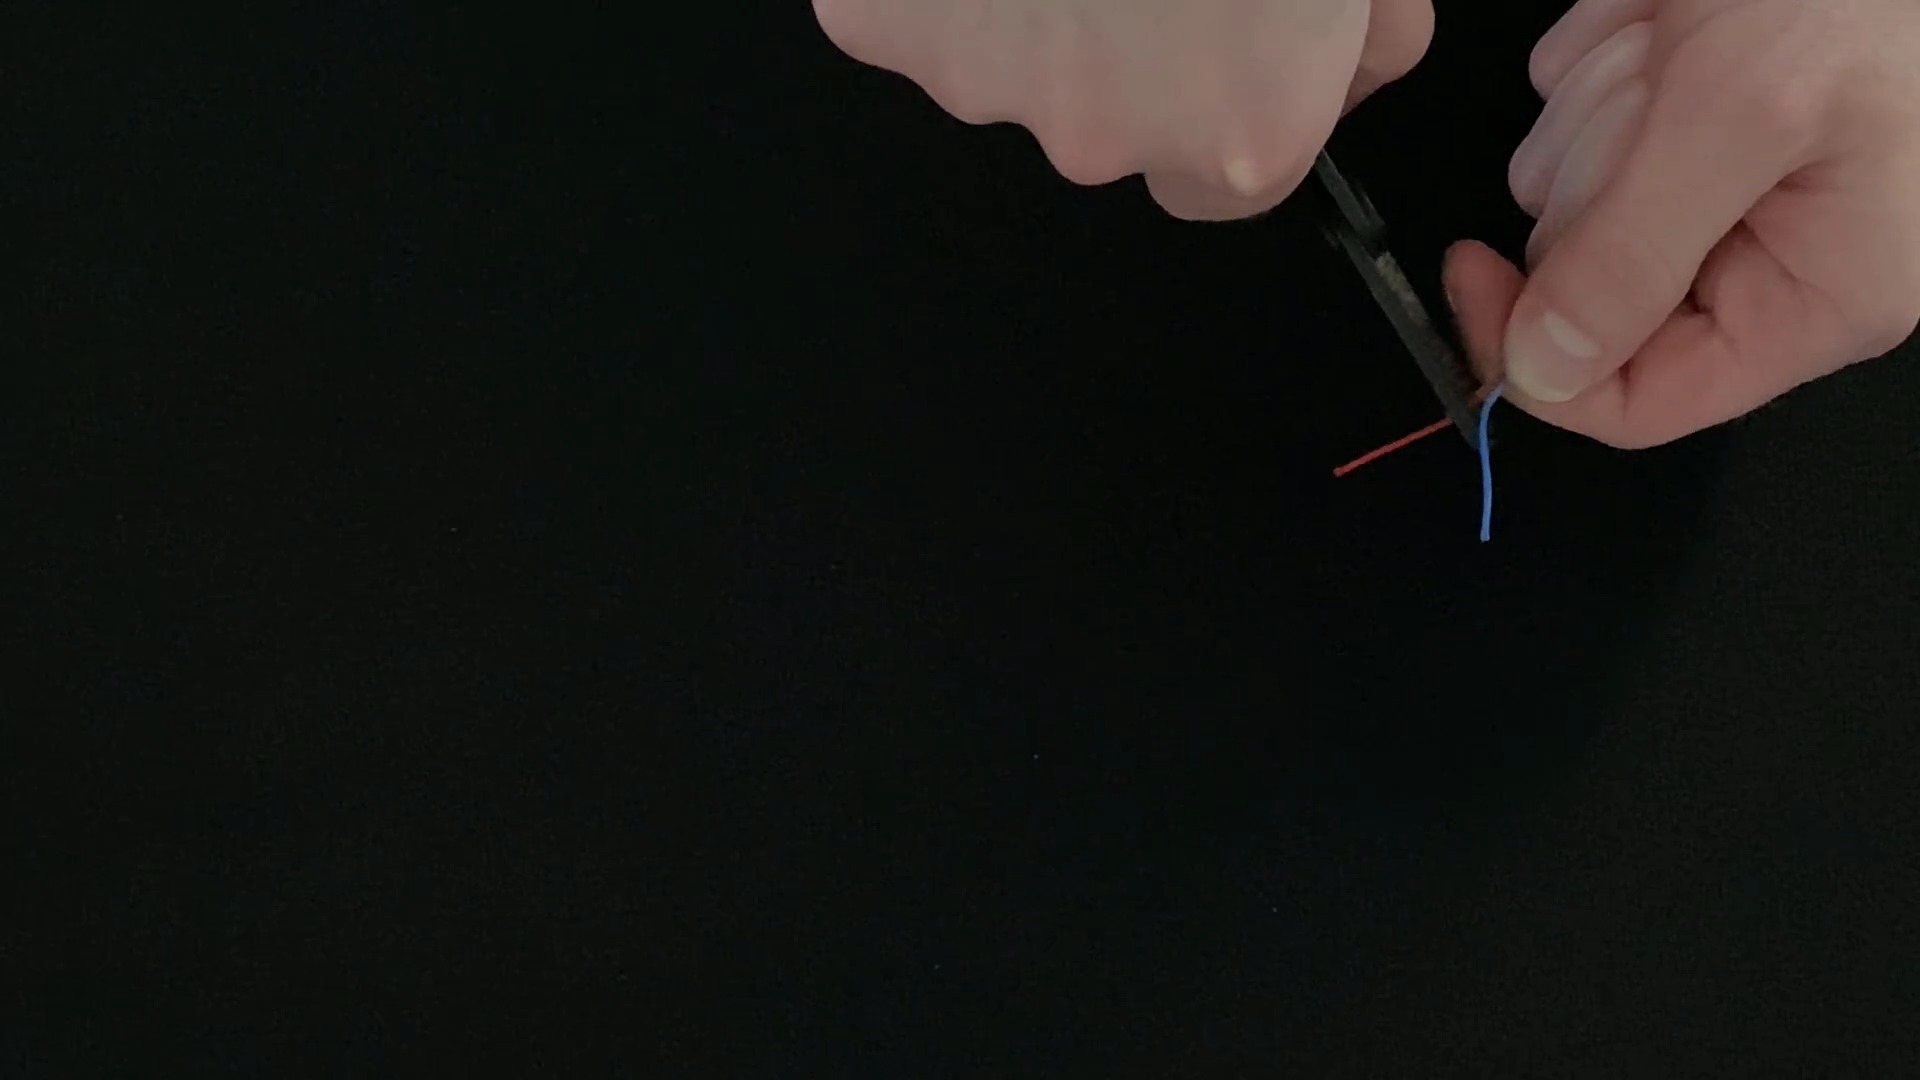
Spread the split wires apart and remove the clear overwrap from them.

Strip the insulation off the end of each wire with the wire strippers.

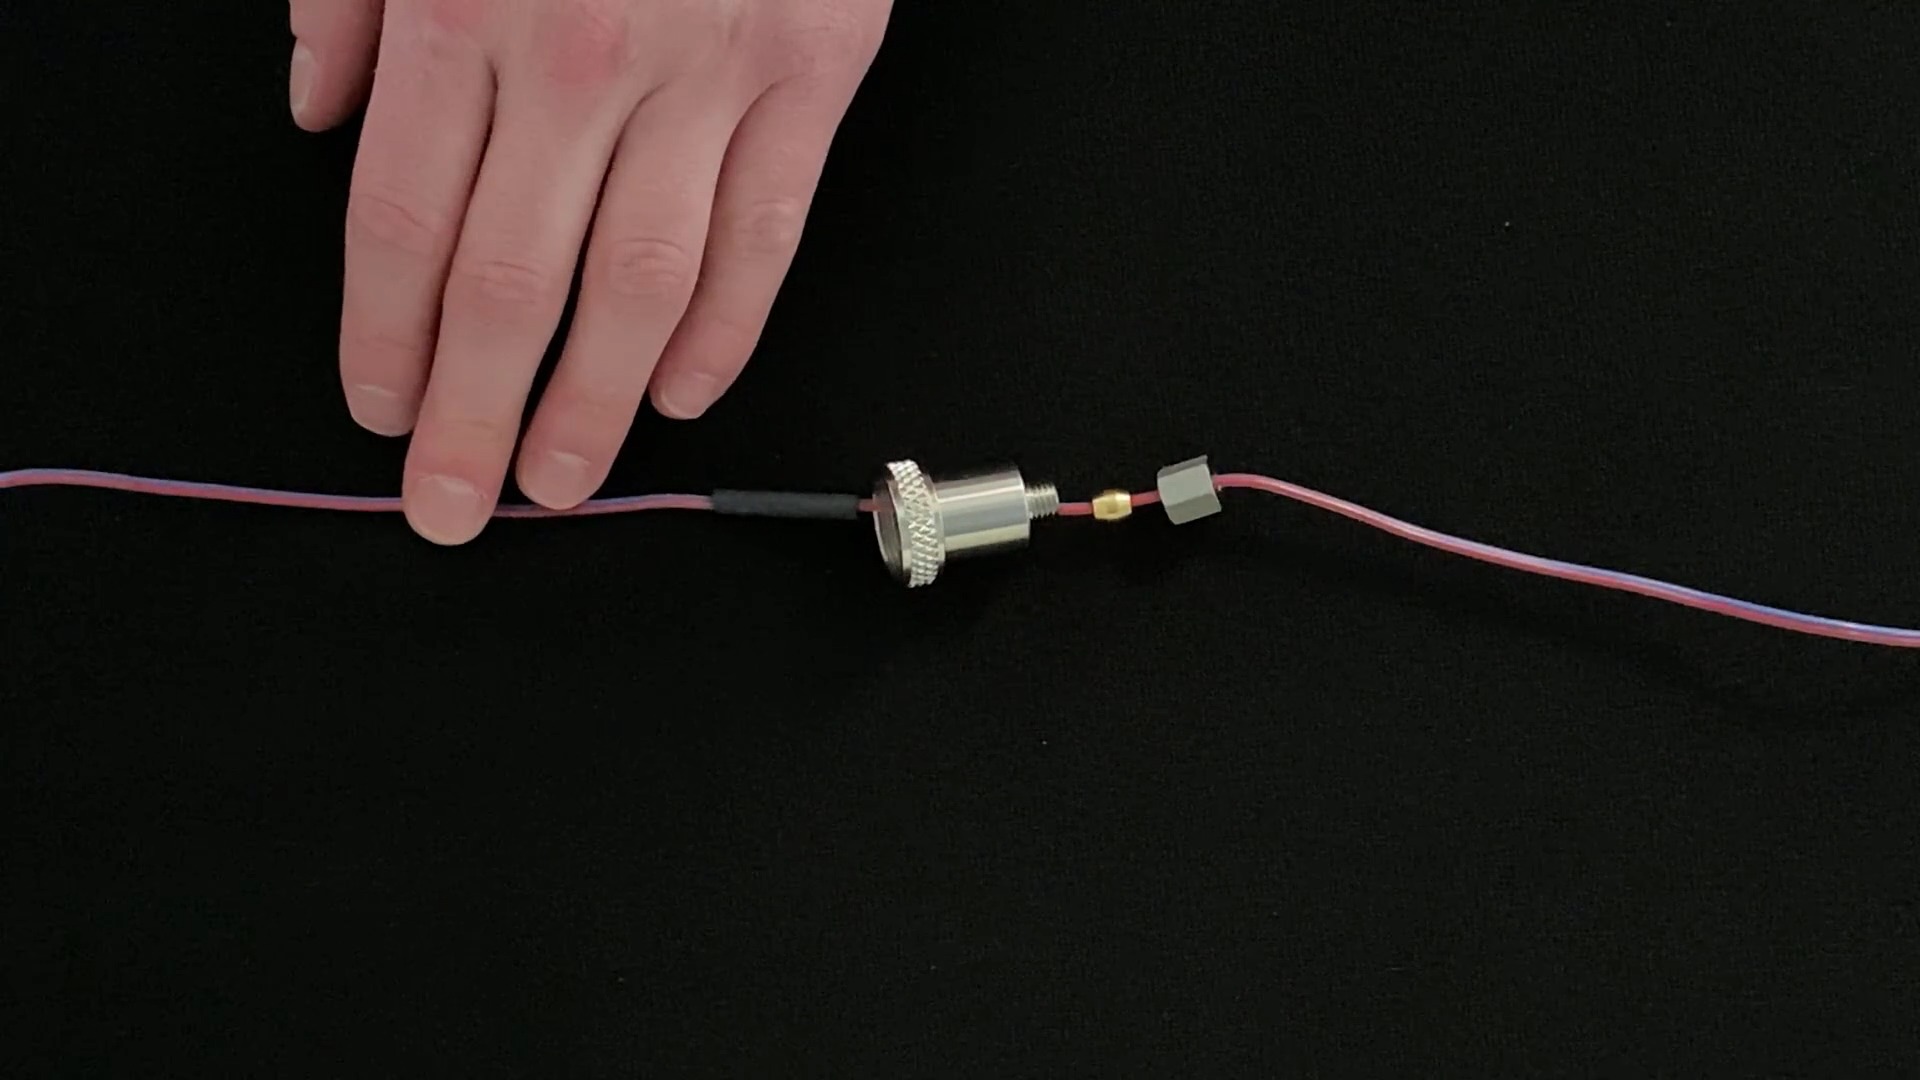
Slide the pieces over the wires in the following order: the hex nut, grommet, locking ring, case, and heat shrink tube.
**NOTE: if this was a non-locking connector, there would be no locking ring.**

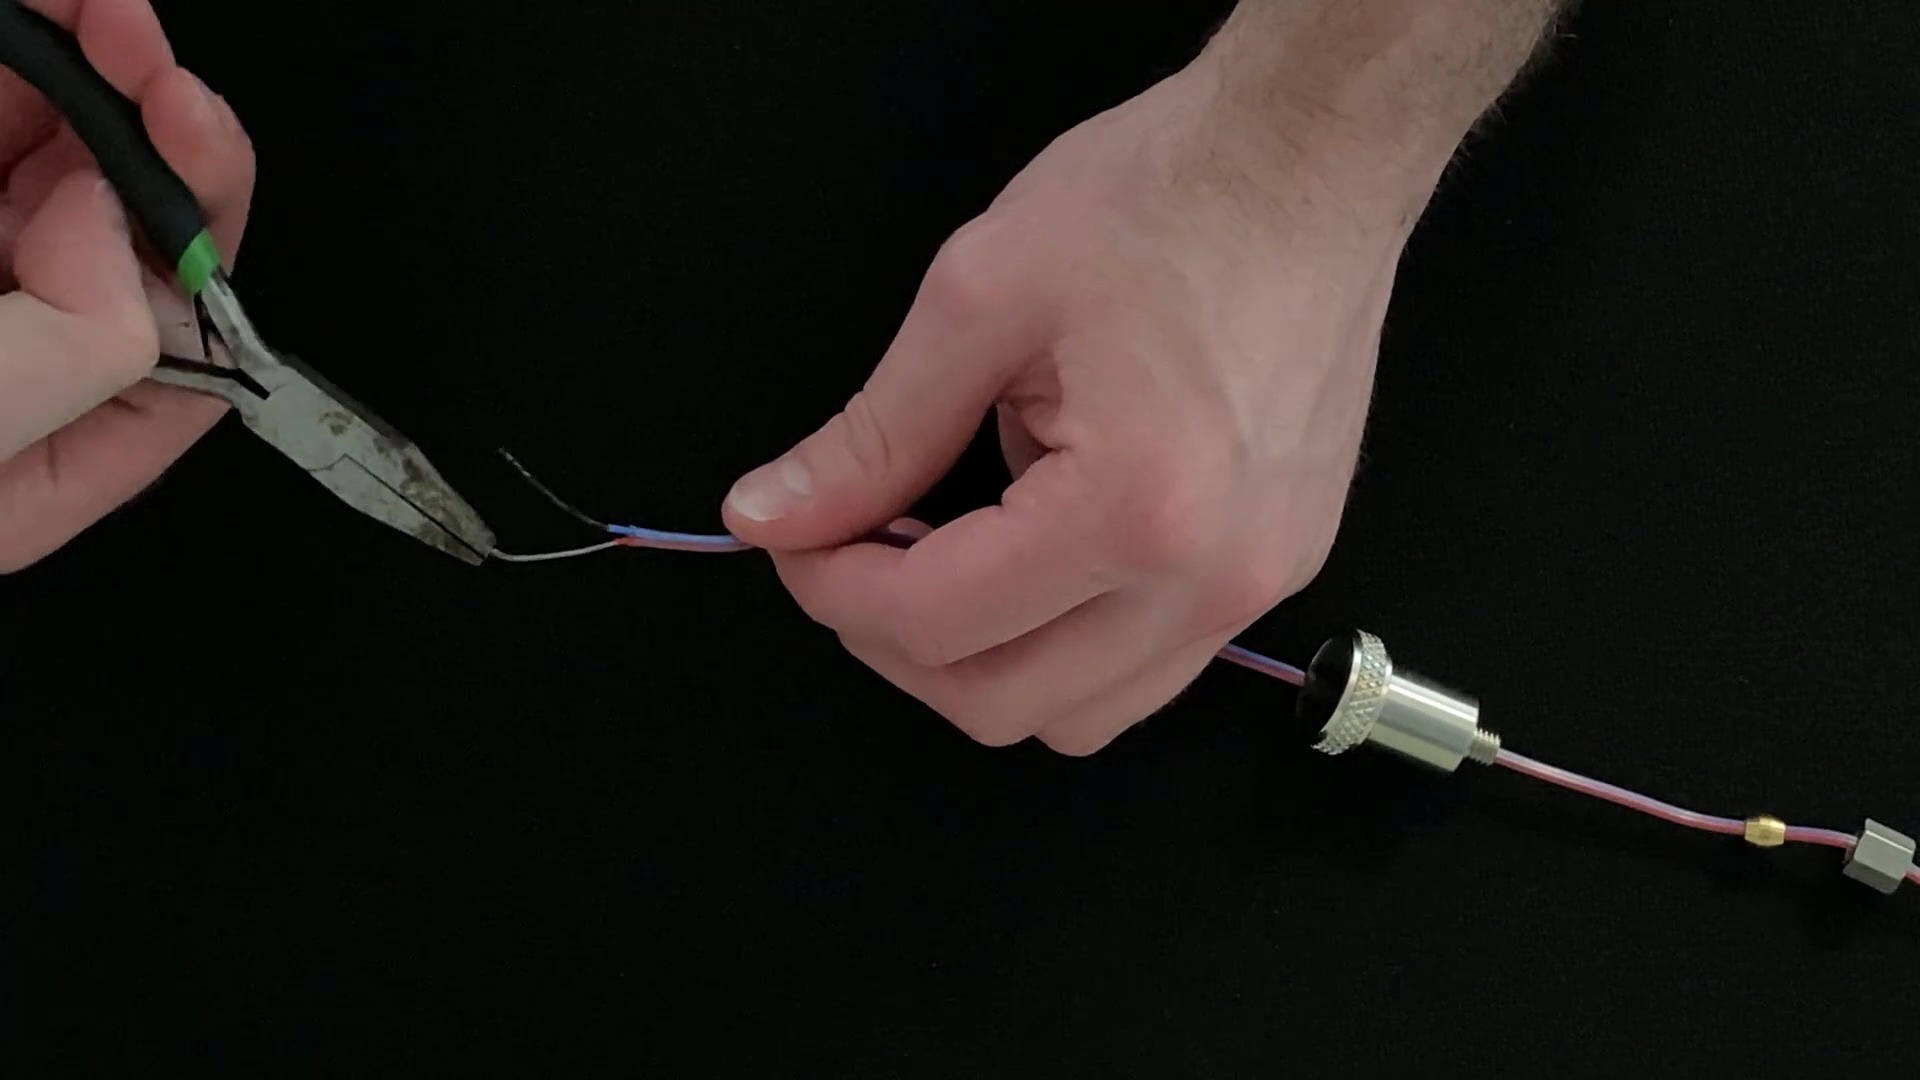
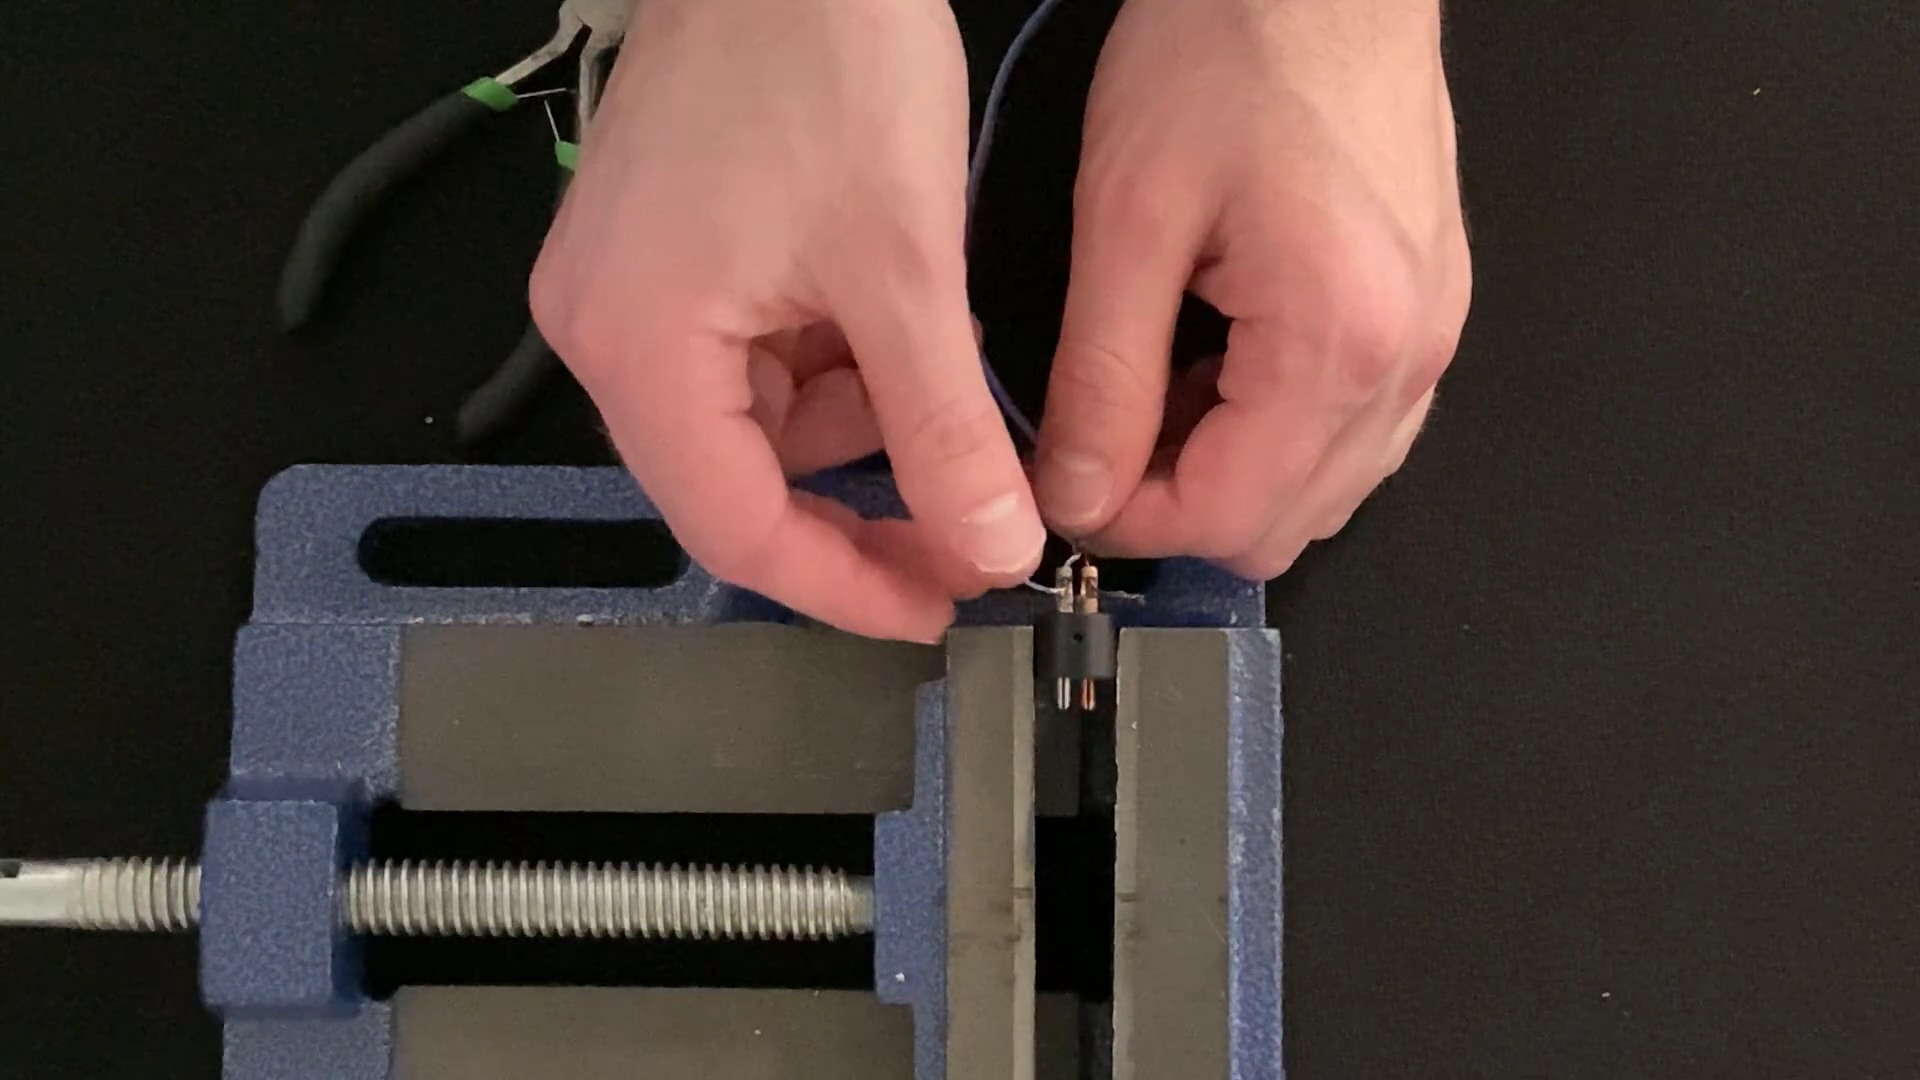
Use the needle nose pliers to twist the ends of the wires so they are both tight and ready to fit through the holes in the pins.
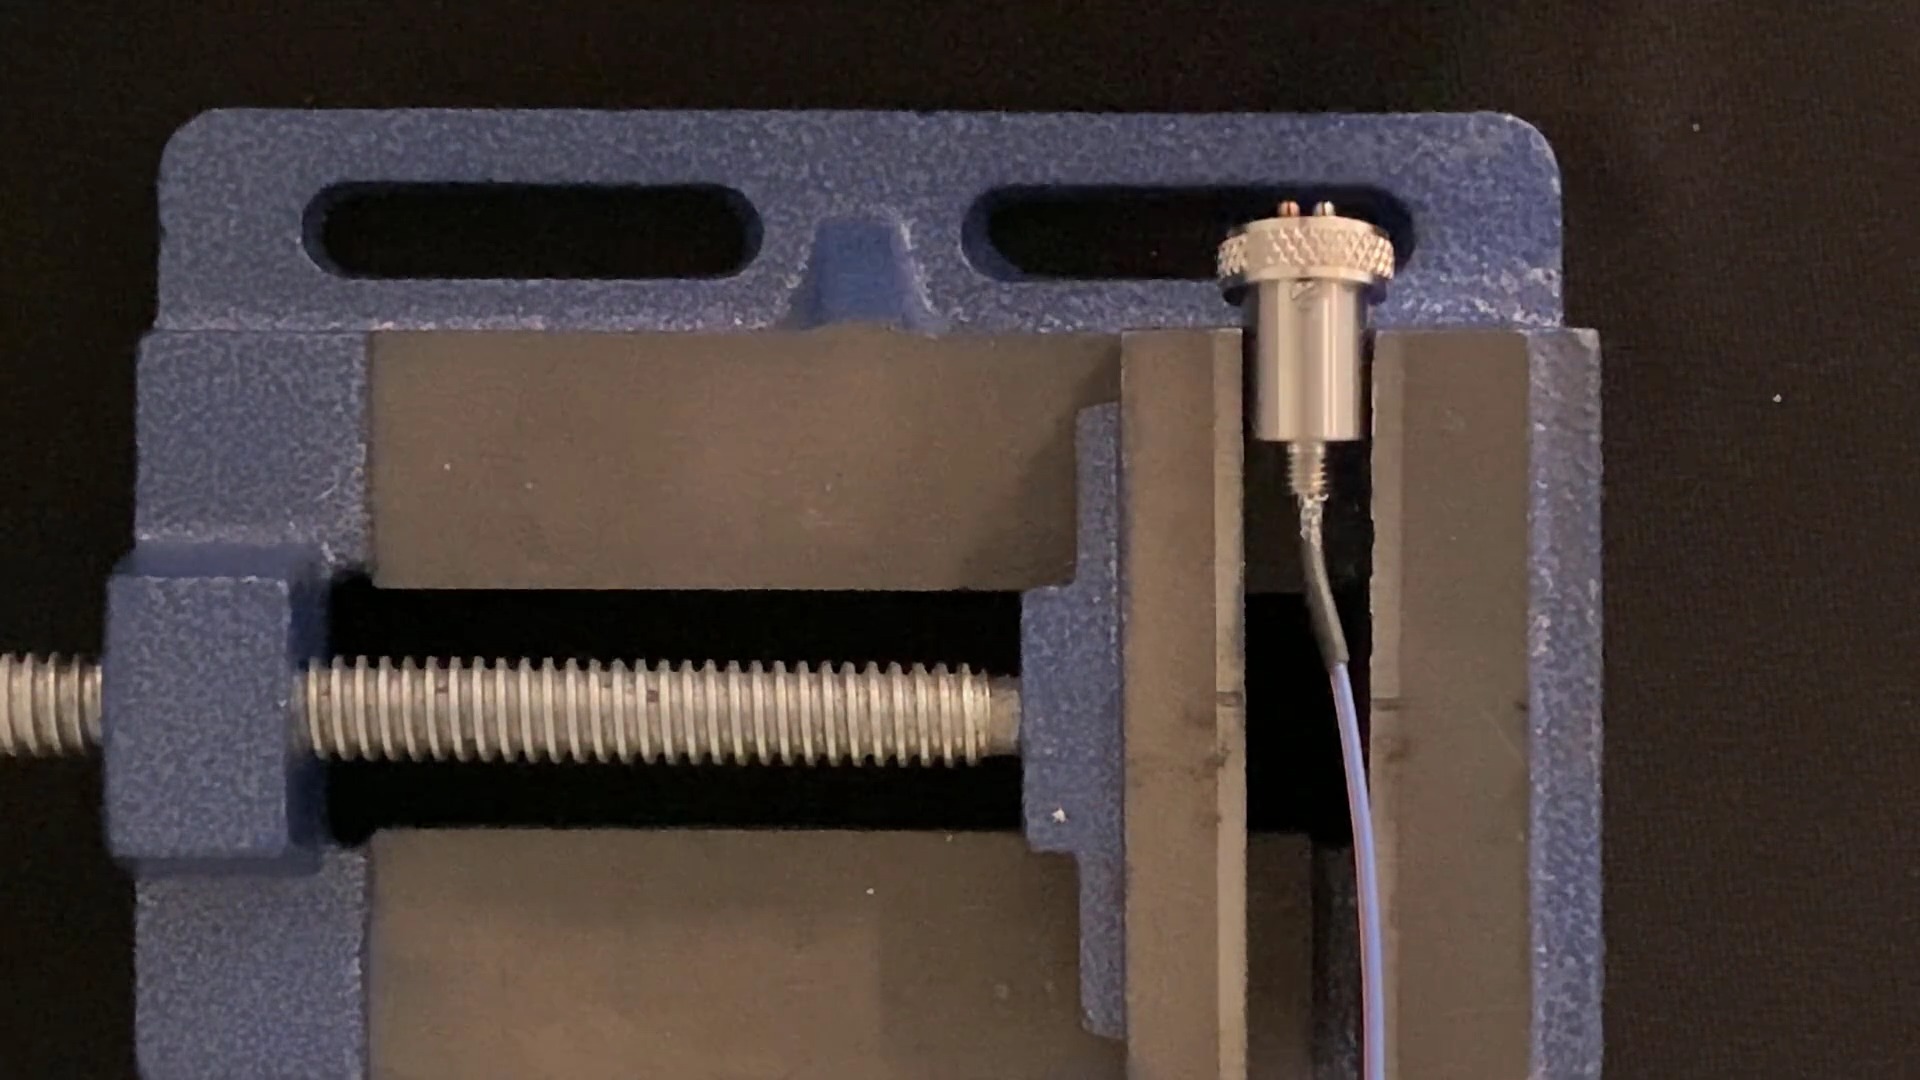
Place the insert in a vise and thread the copper and constantan wires through their respective pins.

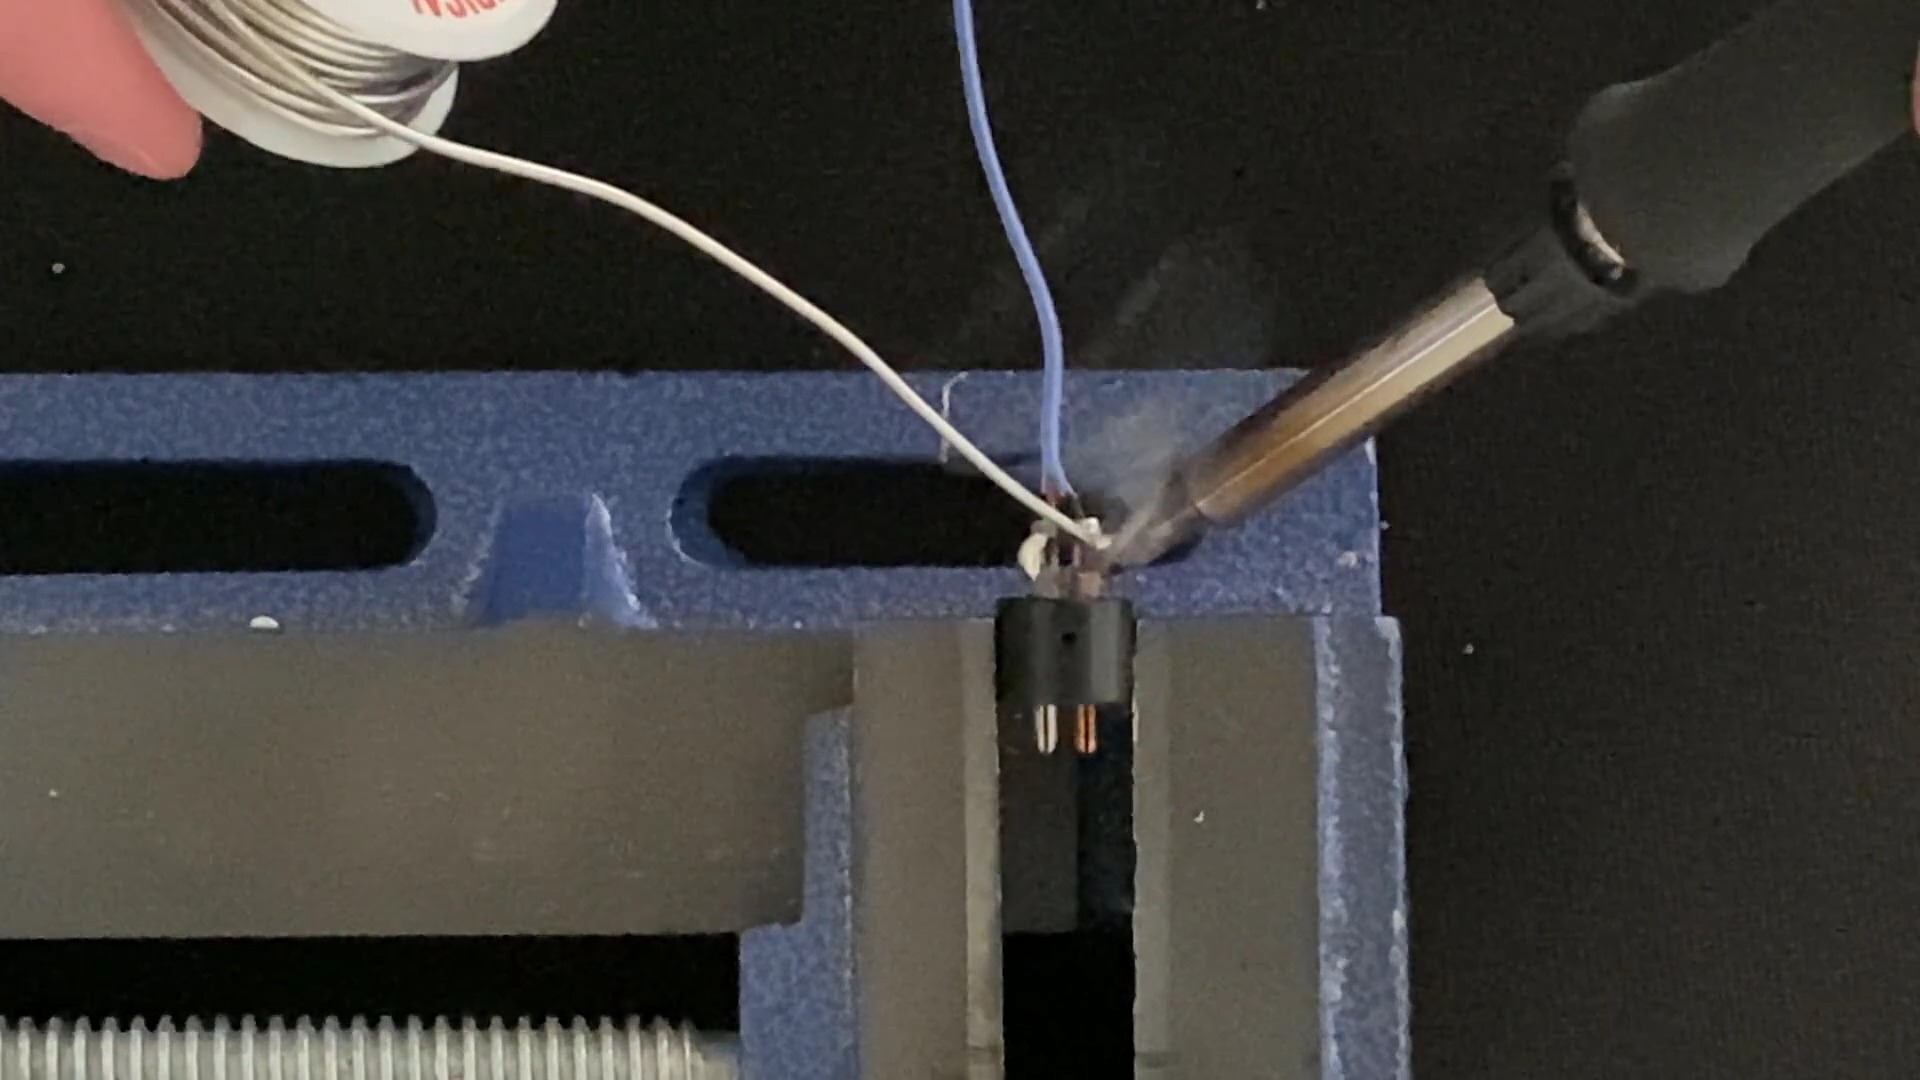
Fold the constantan wire around the back of the pin. Solder the constantan wire to the constantan pin and clip off the excess wire.
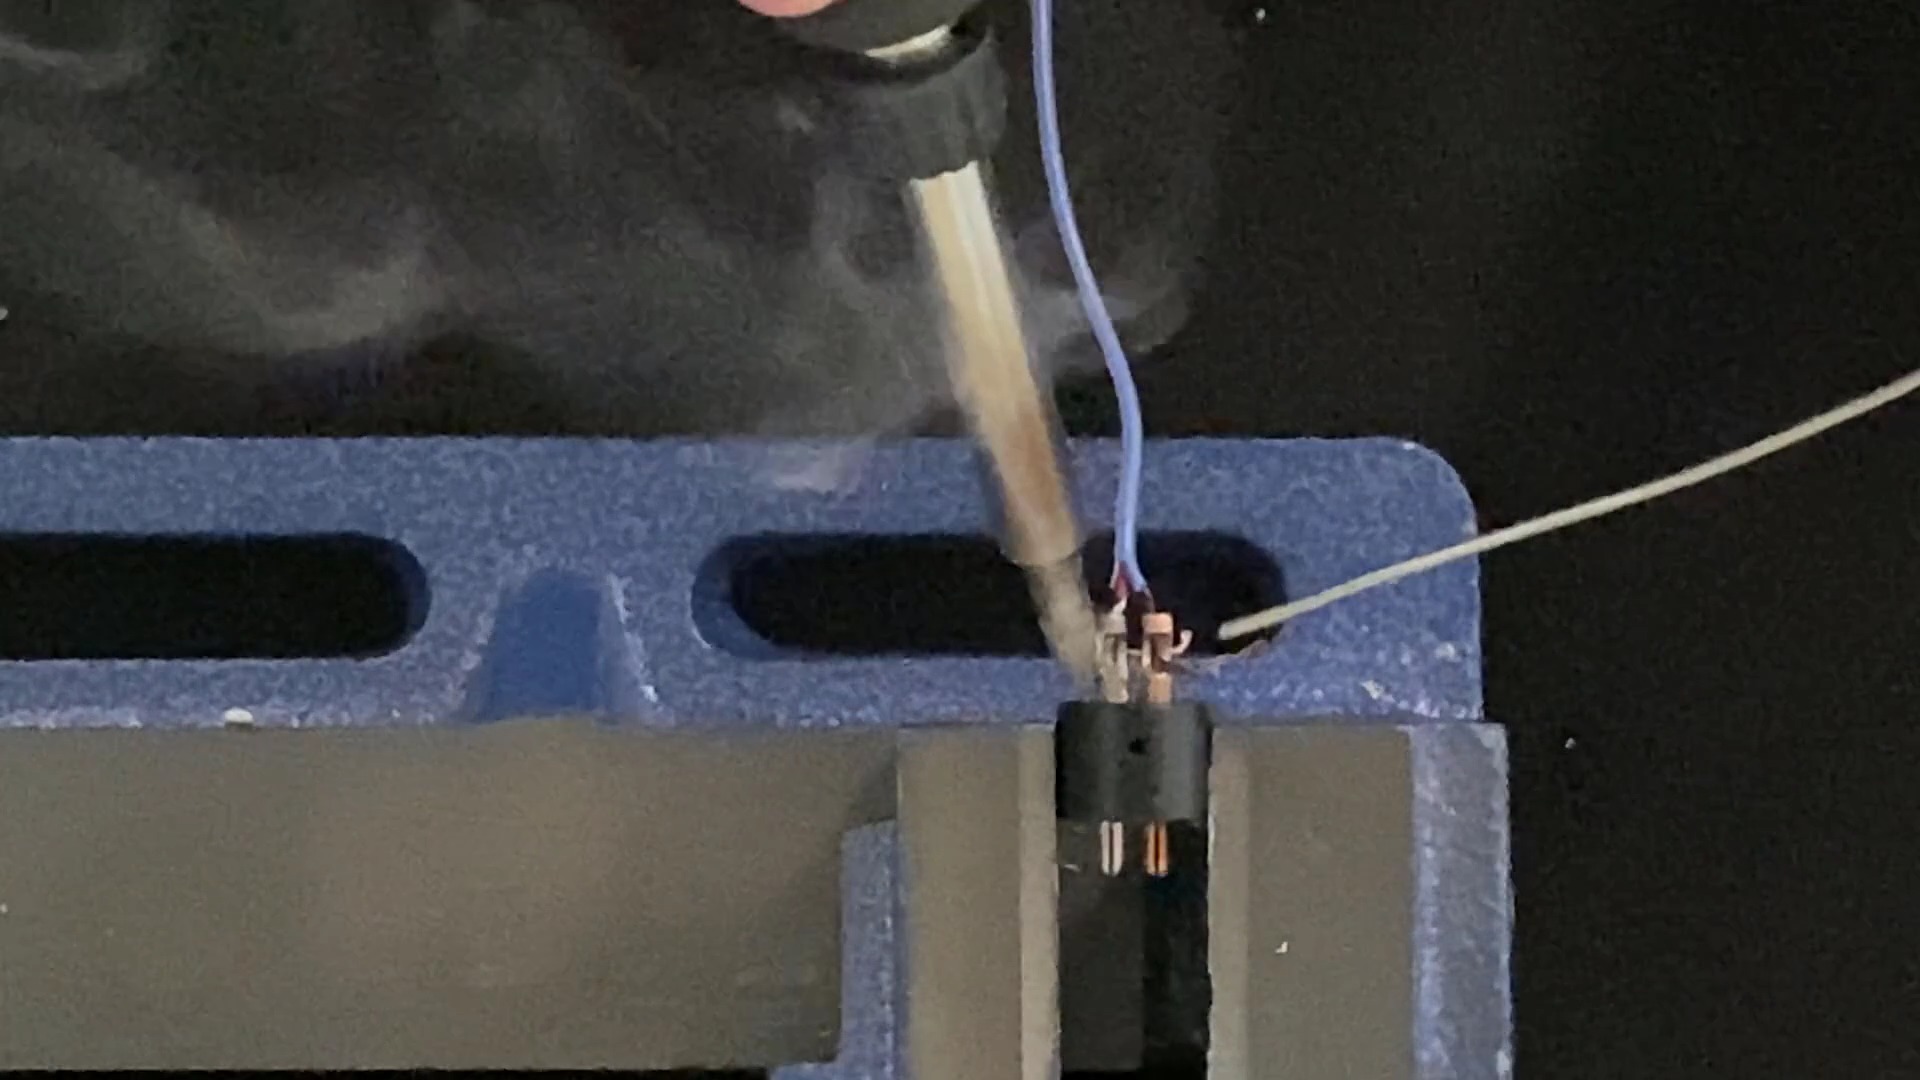
Do the same to the copper wire: solder it to the copper pin, and clip off the excess wire.

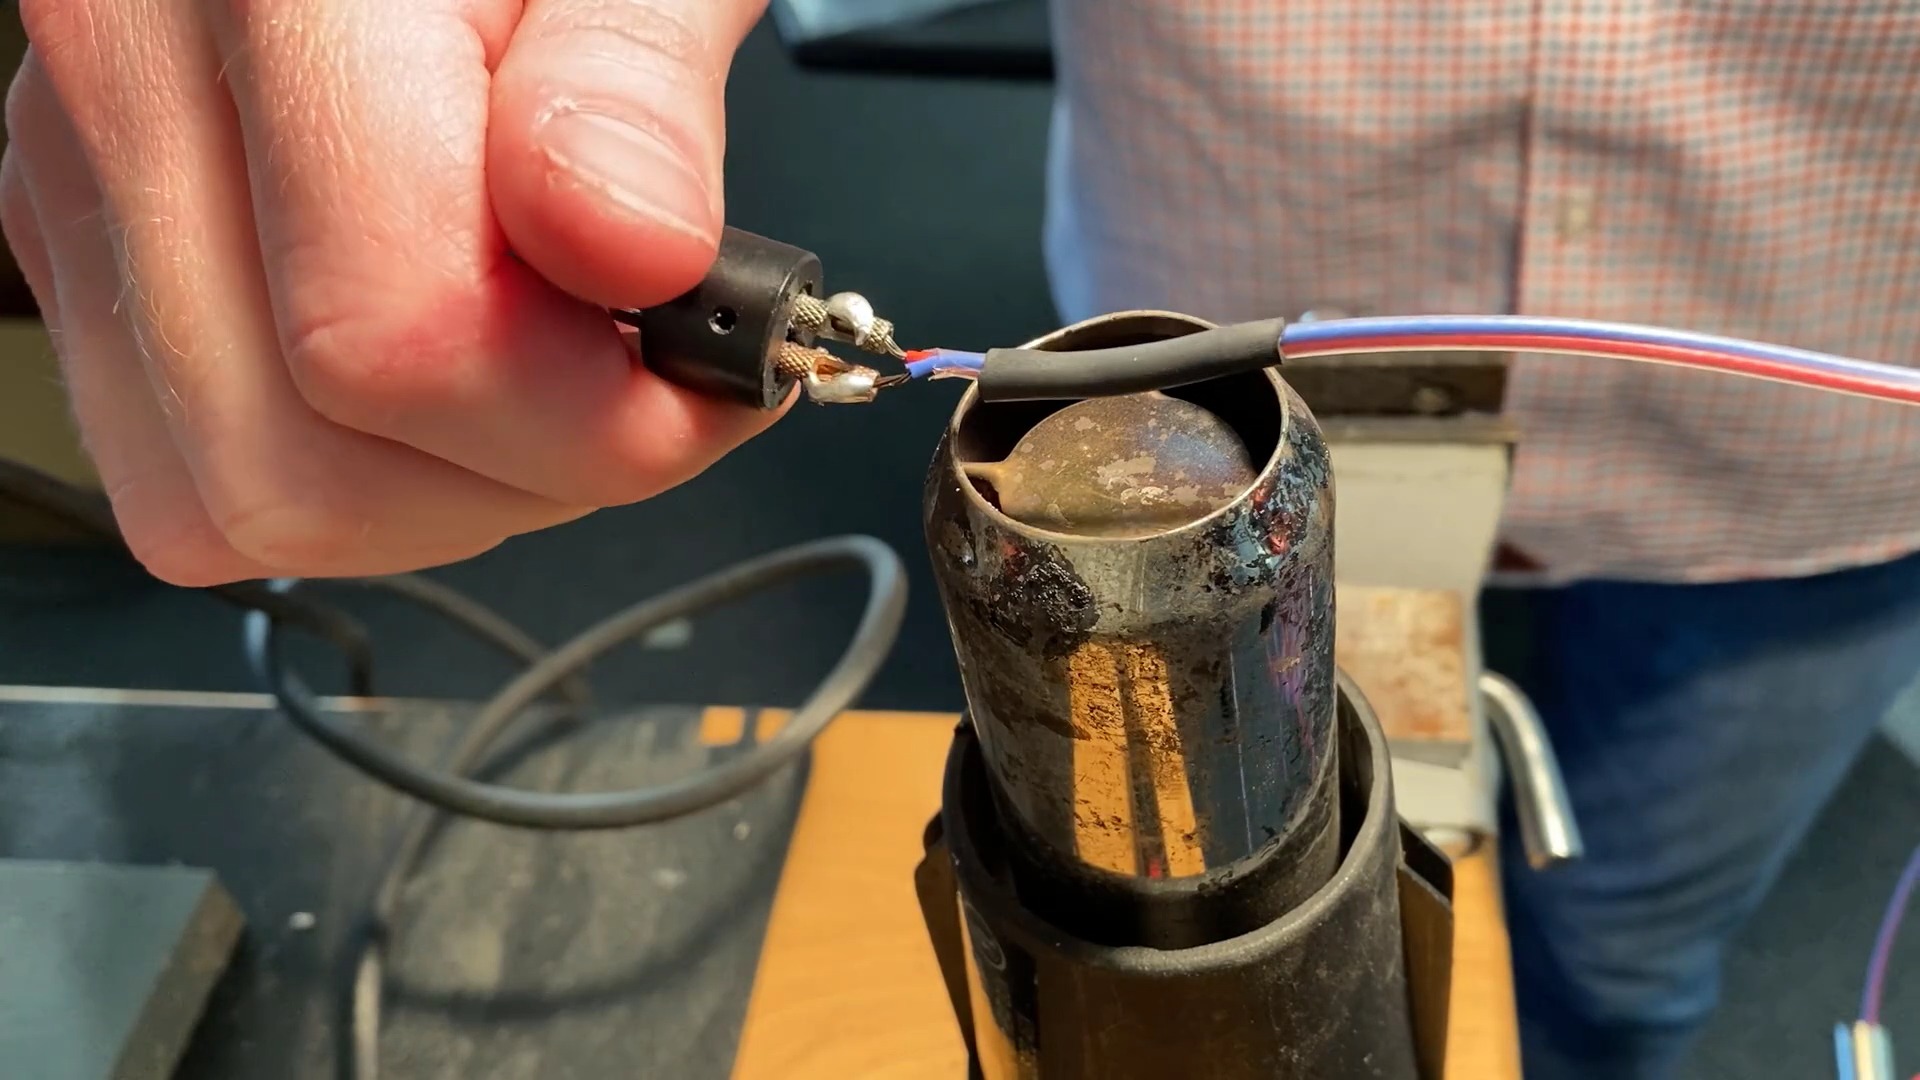
Heat the shrink tube with a heater until the tube is tight on the wire.
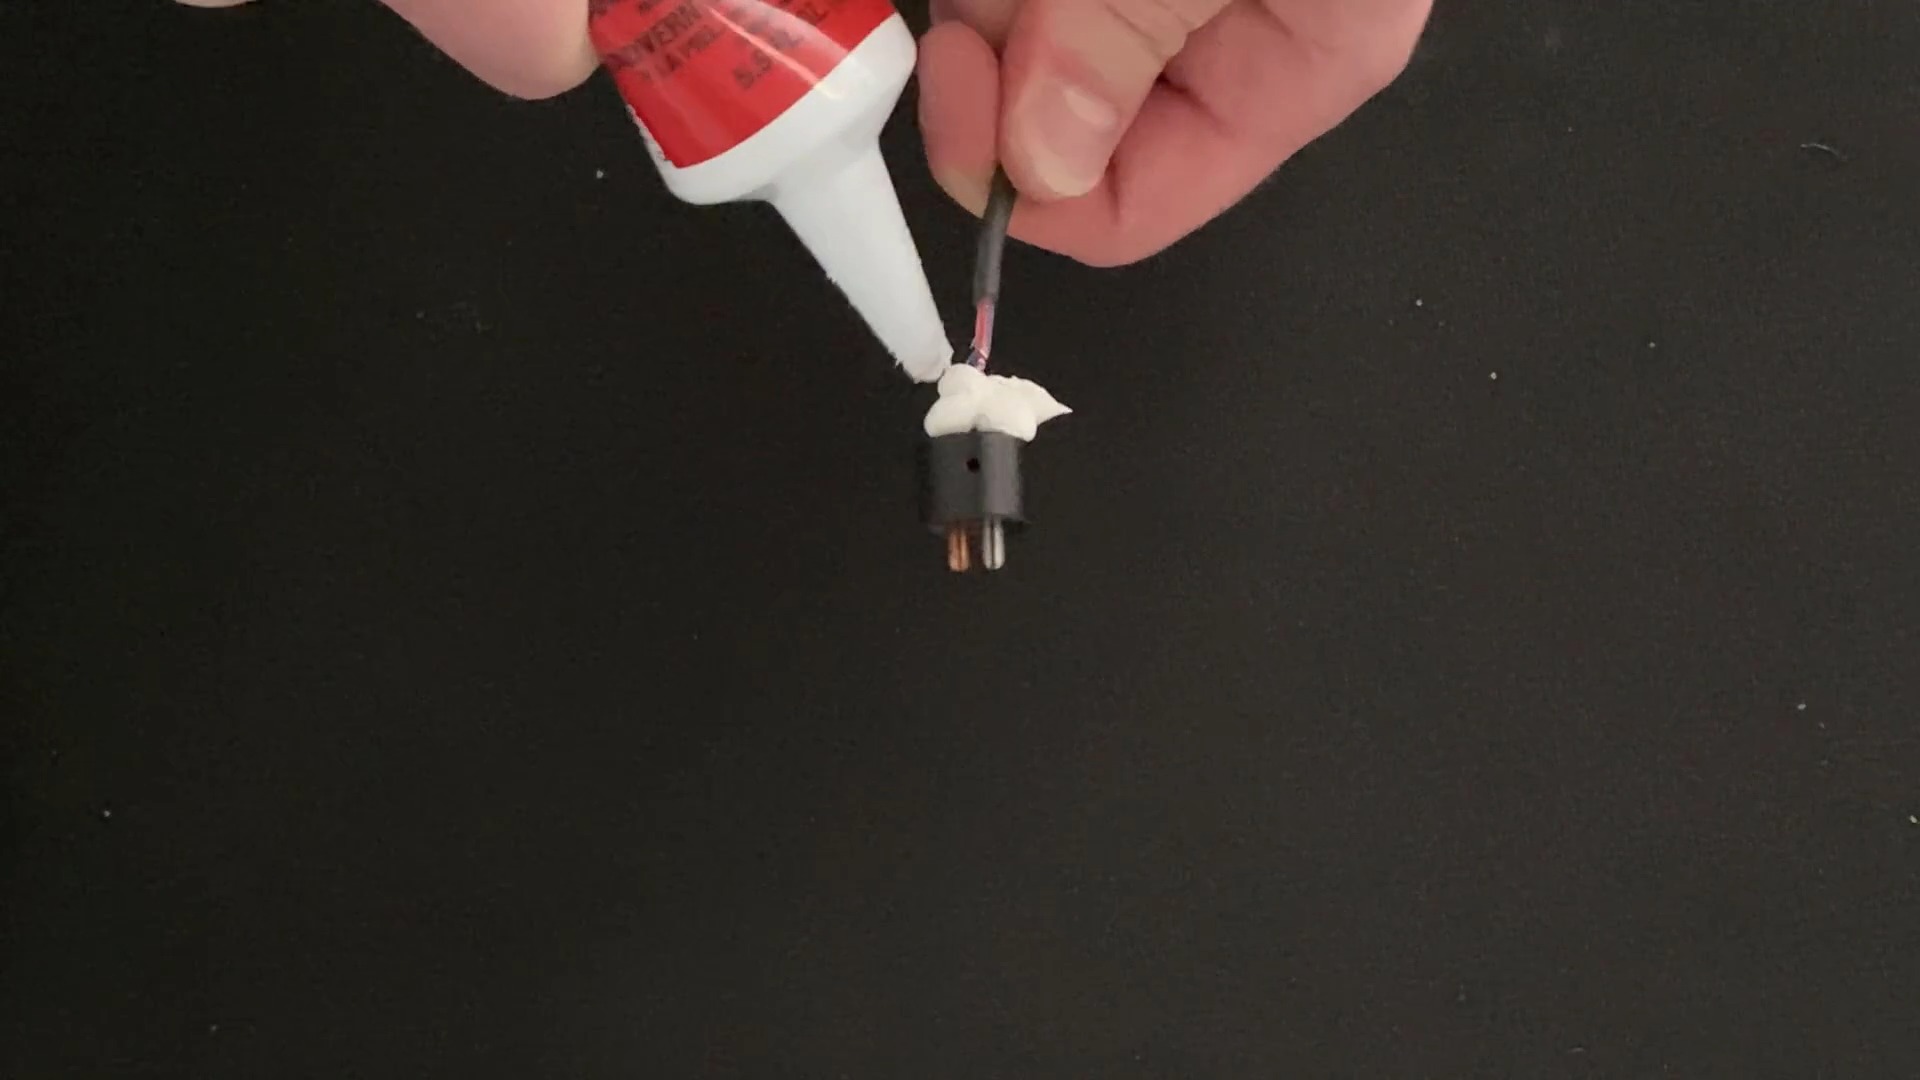
Completely cover the pins with sealant.
Slide the case over the insert. Slide the locking ring to the end of the case. Align the holes on the case with the holes on the insert and place it in the vise.
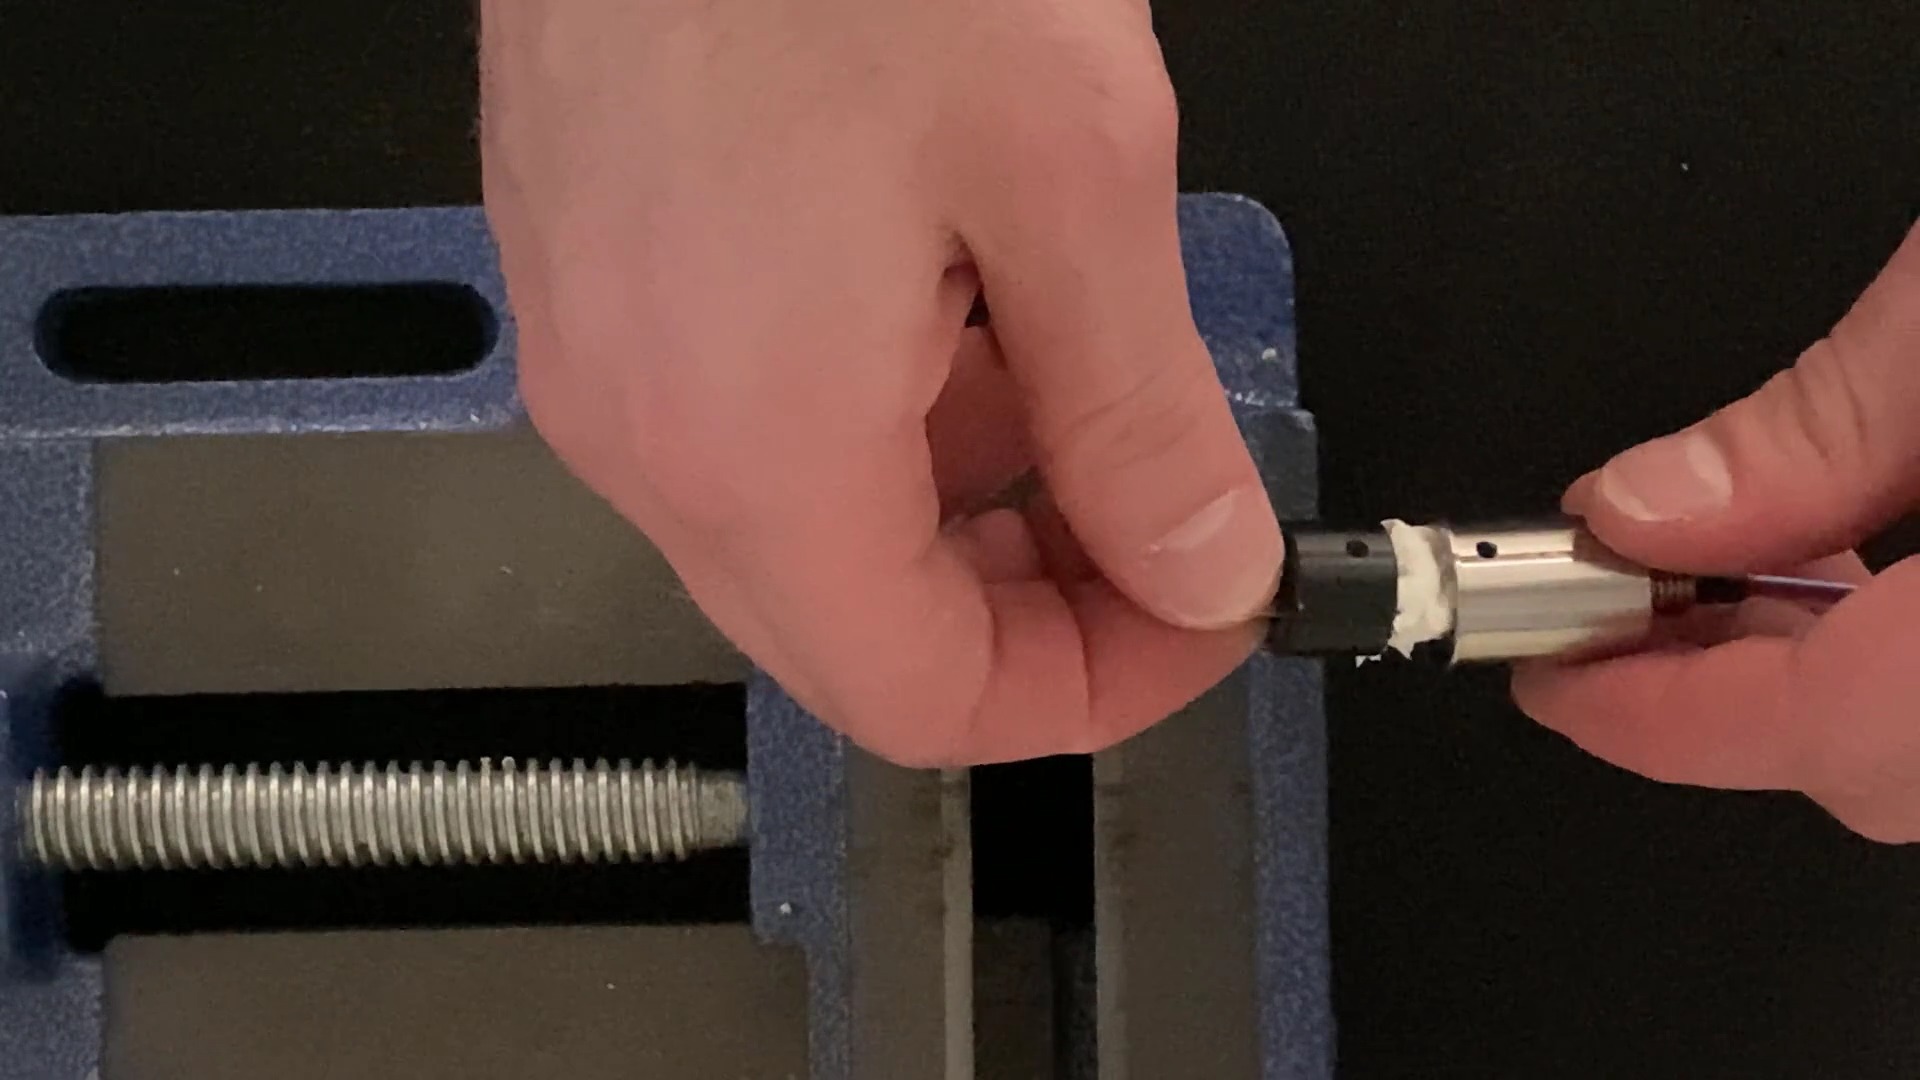
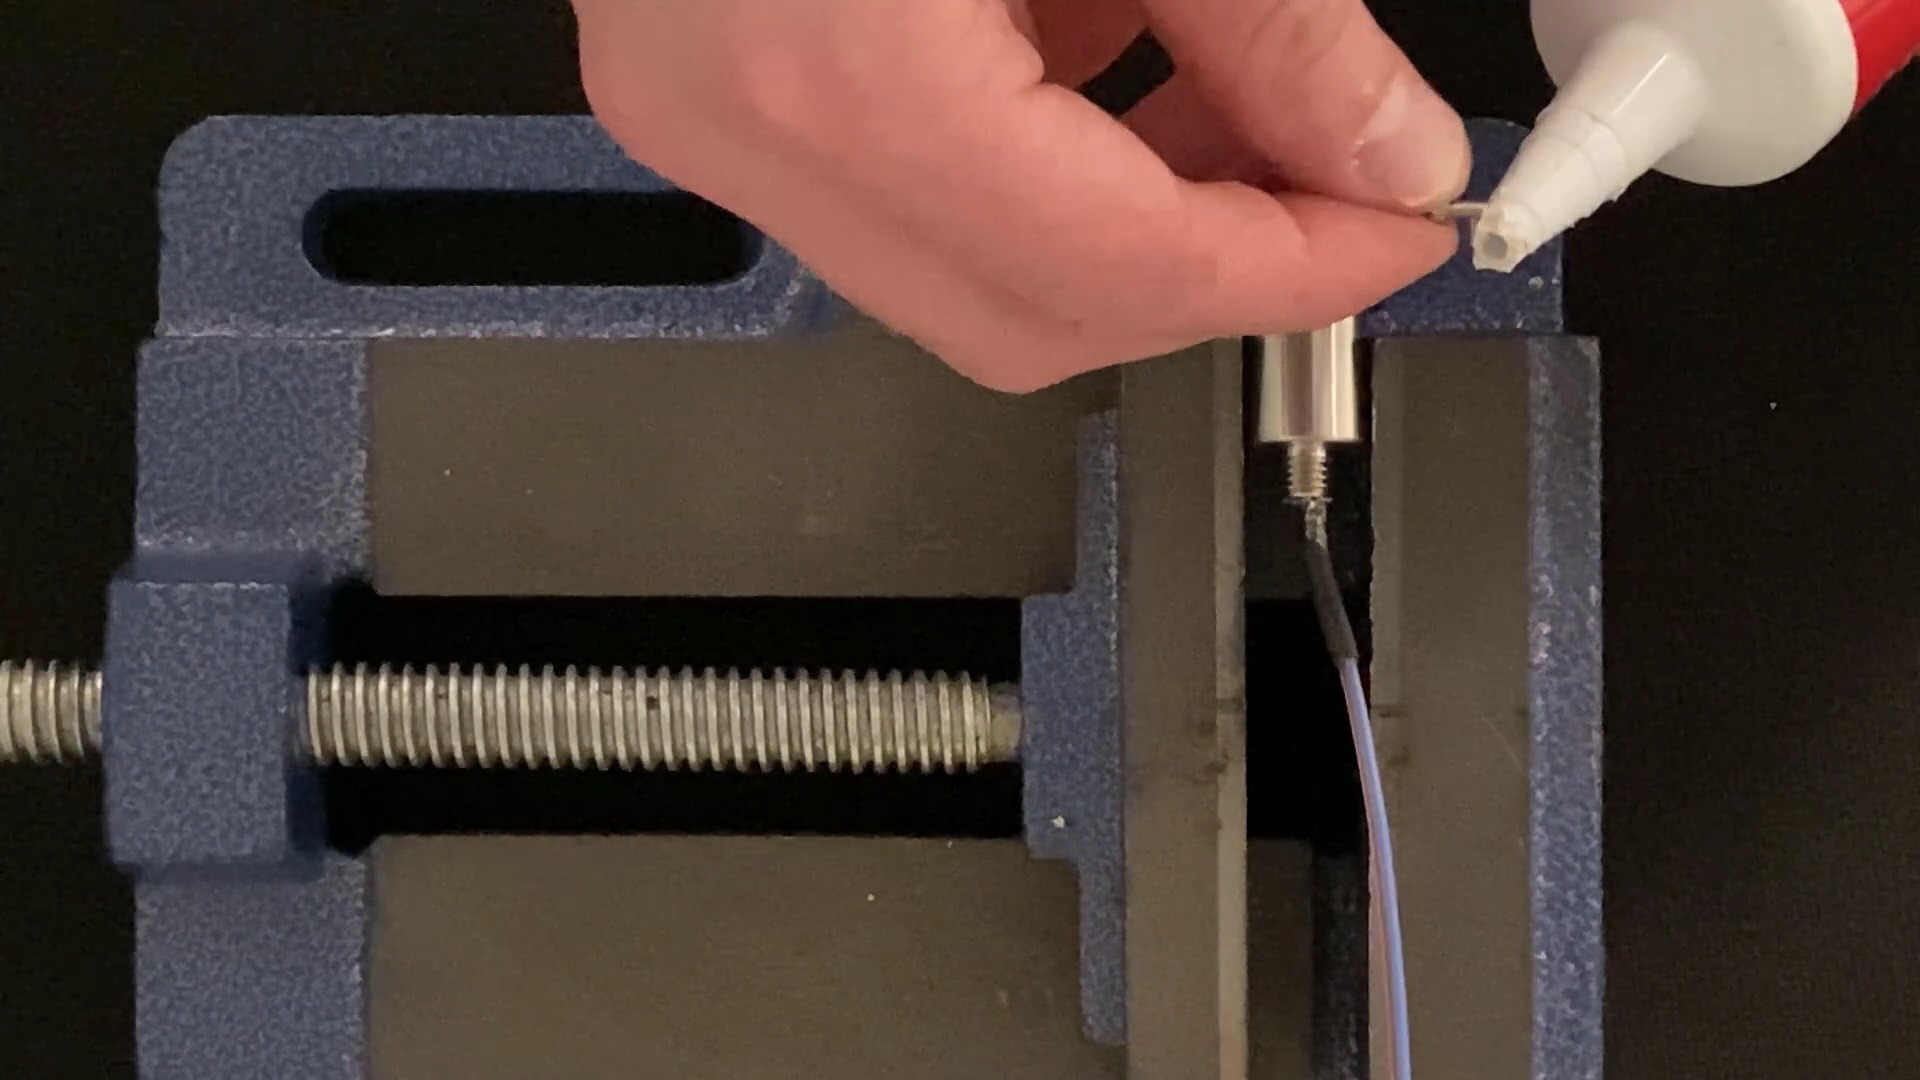
Take one of the screws, apply a small amount of sealant on the tip, and screw it in the hole. Do this with the other screw as well.
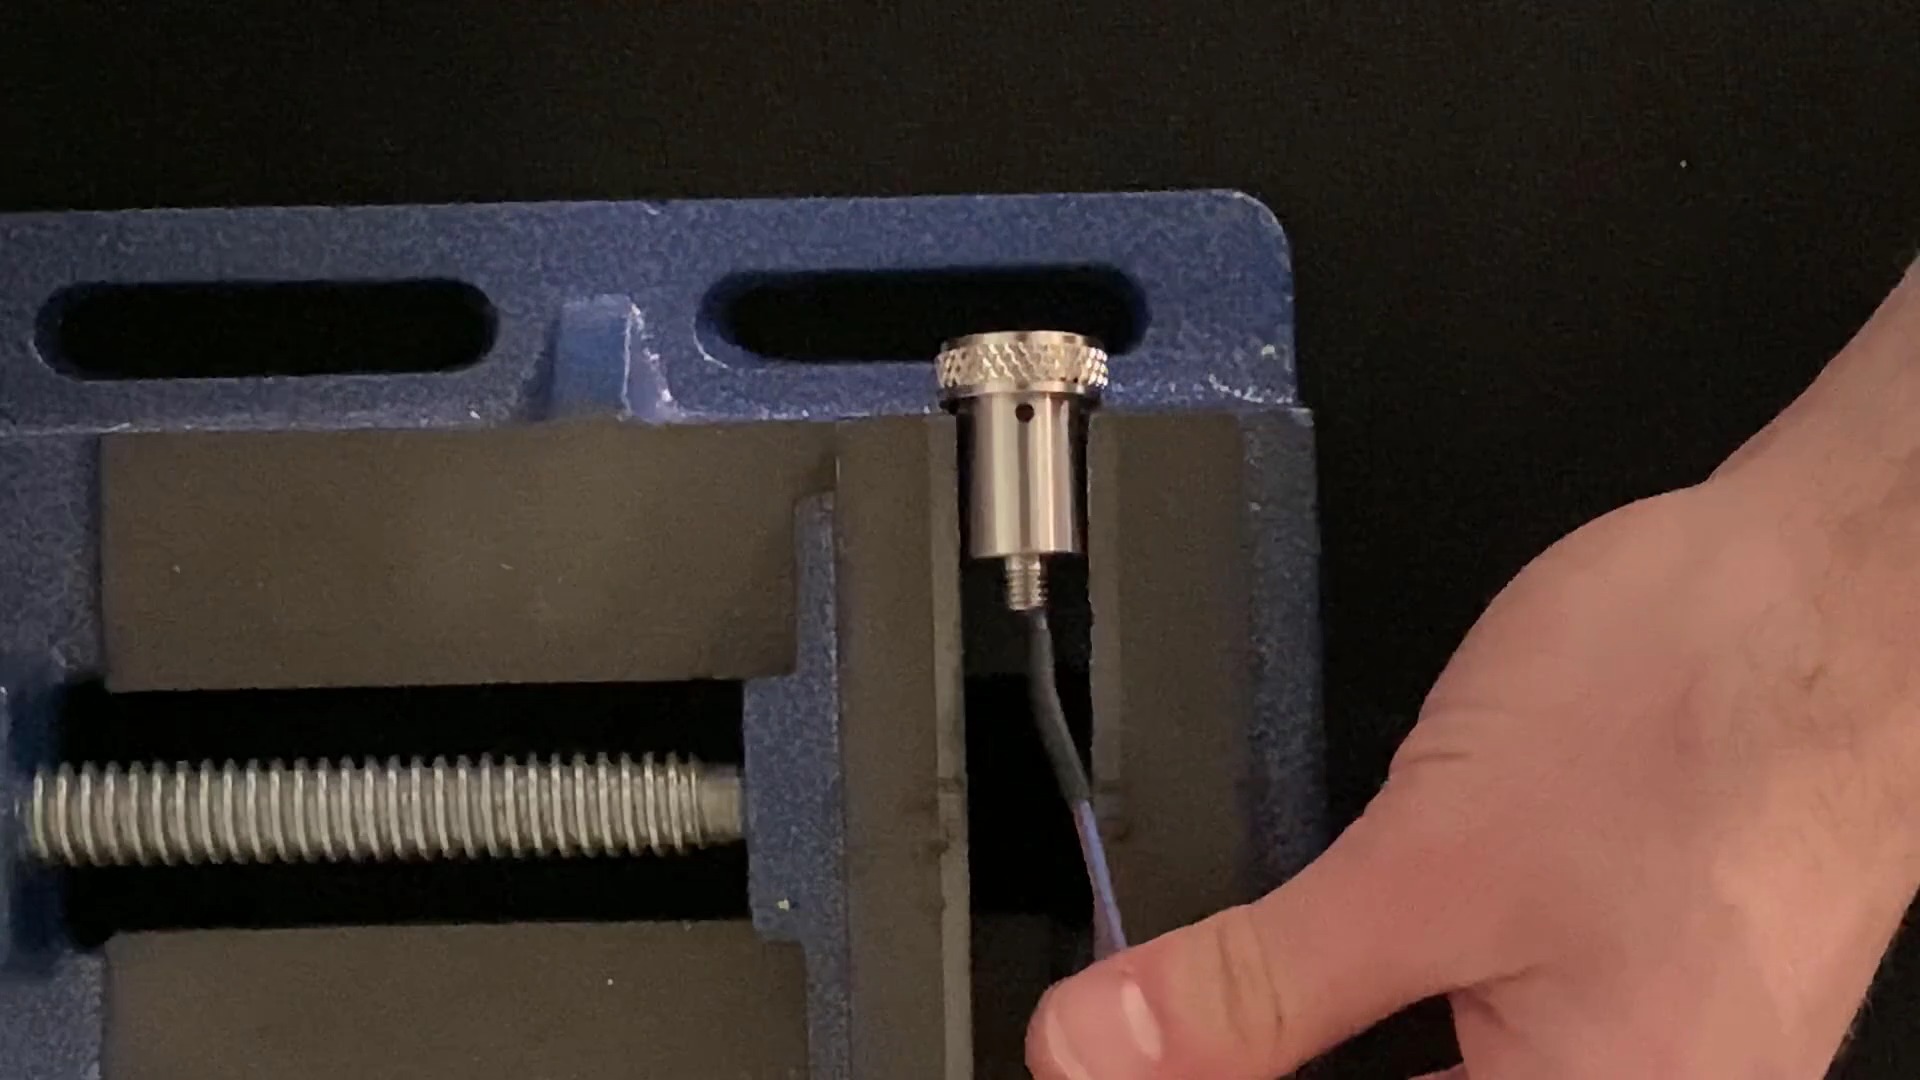
Slide the brass grommet over the shrink tube, and then fasten the nut over the grommet and onto the threaded part of the case.
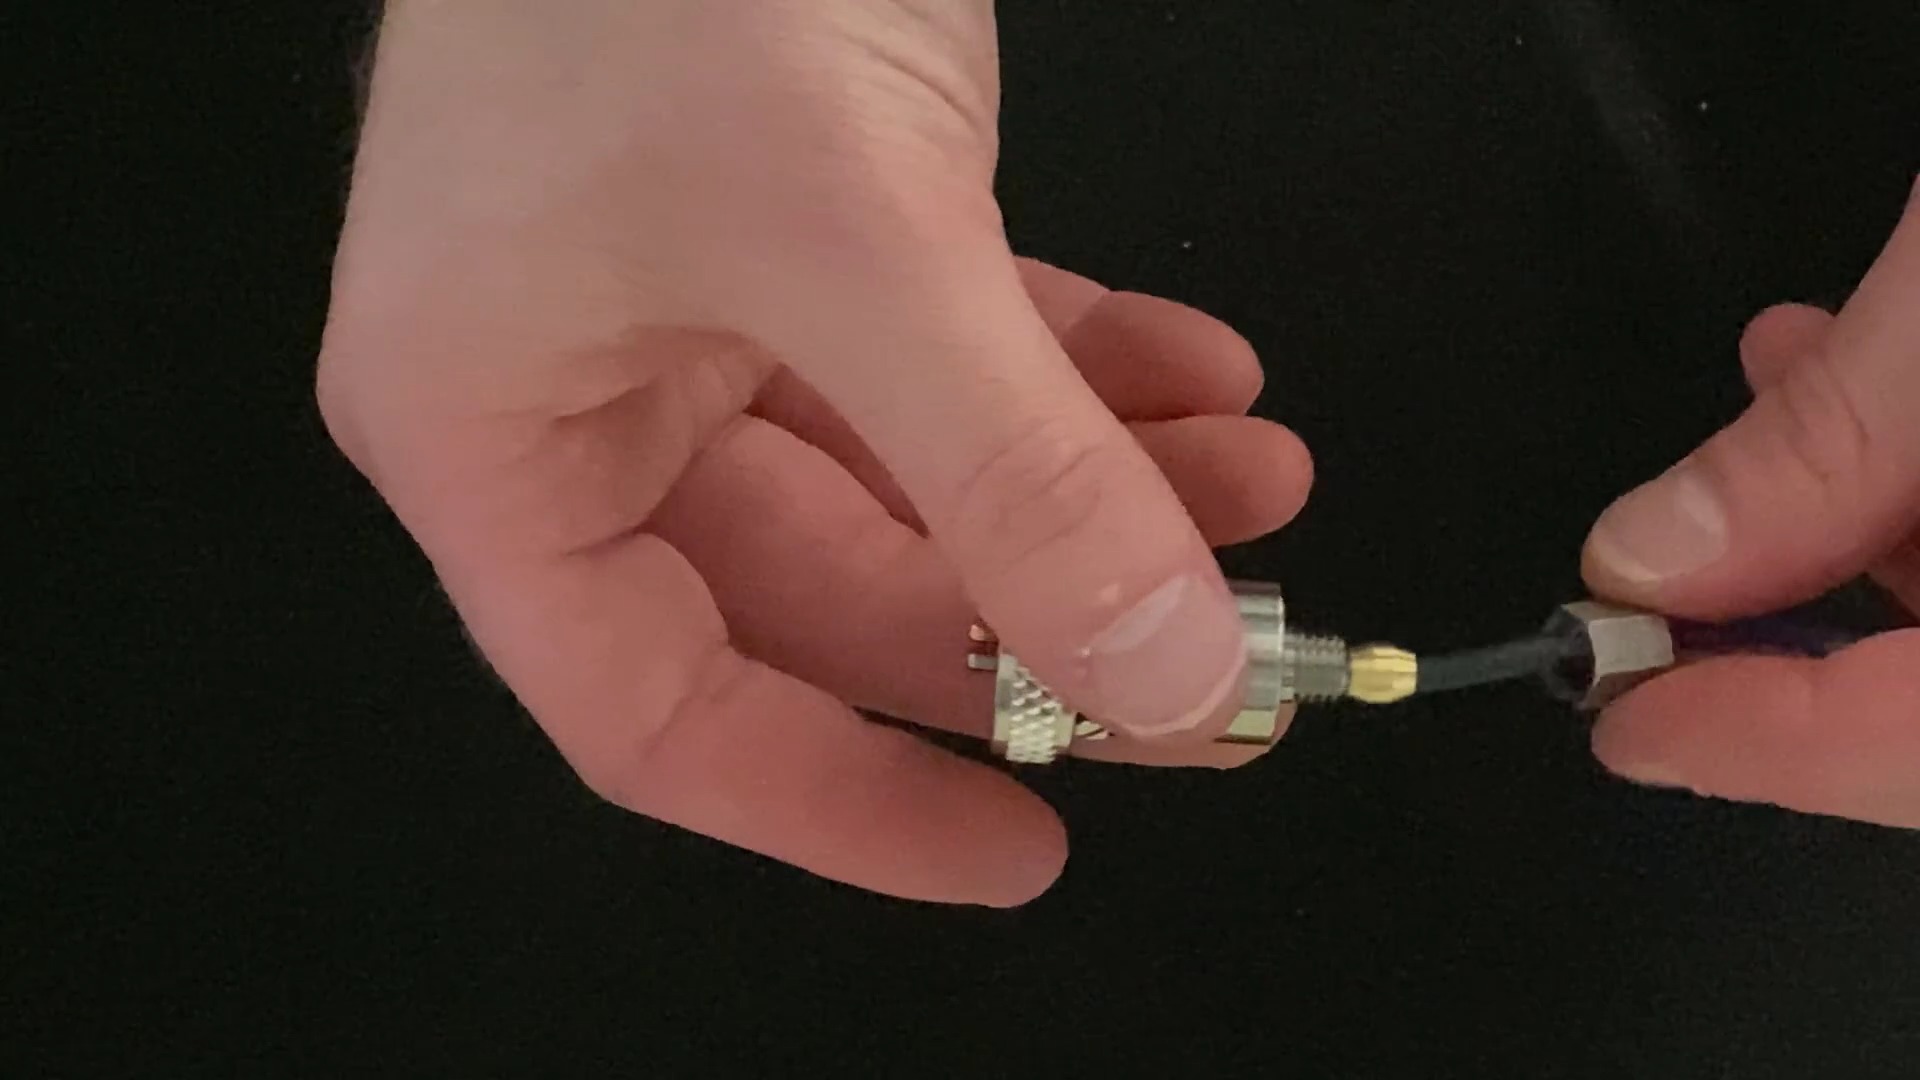
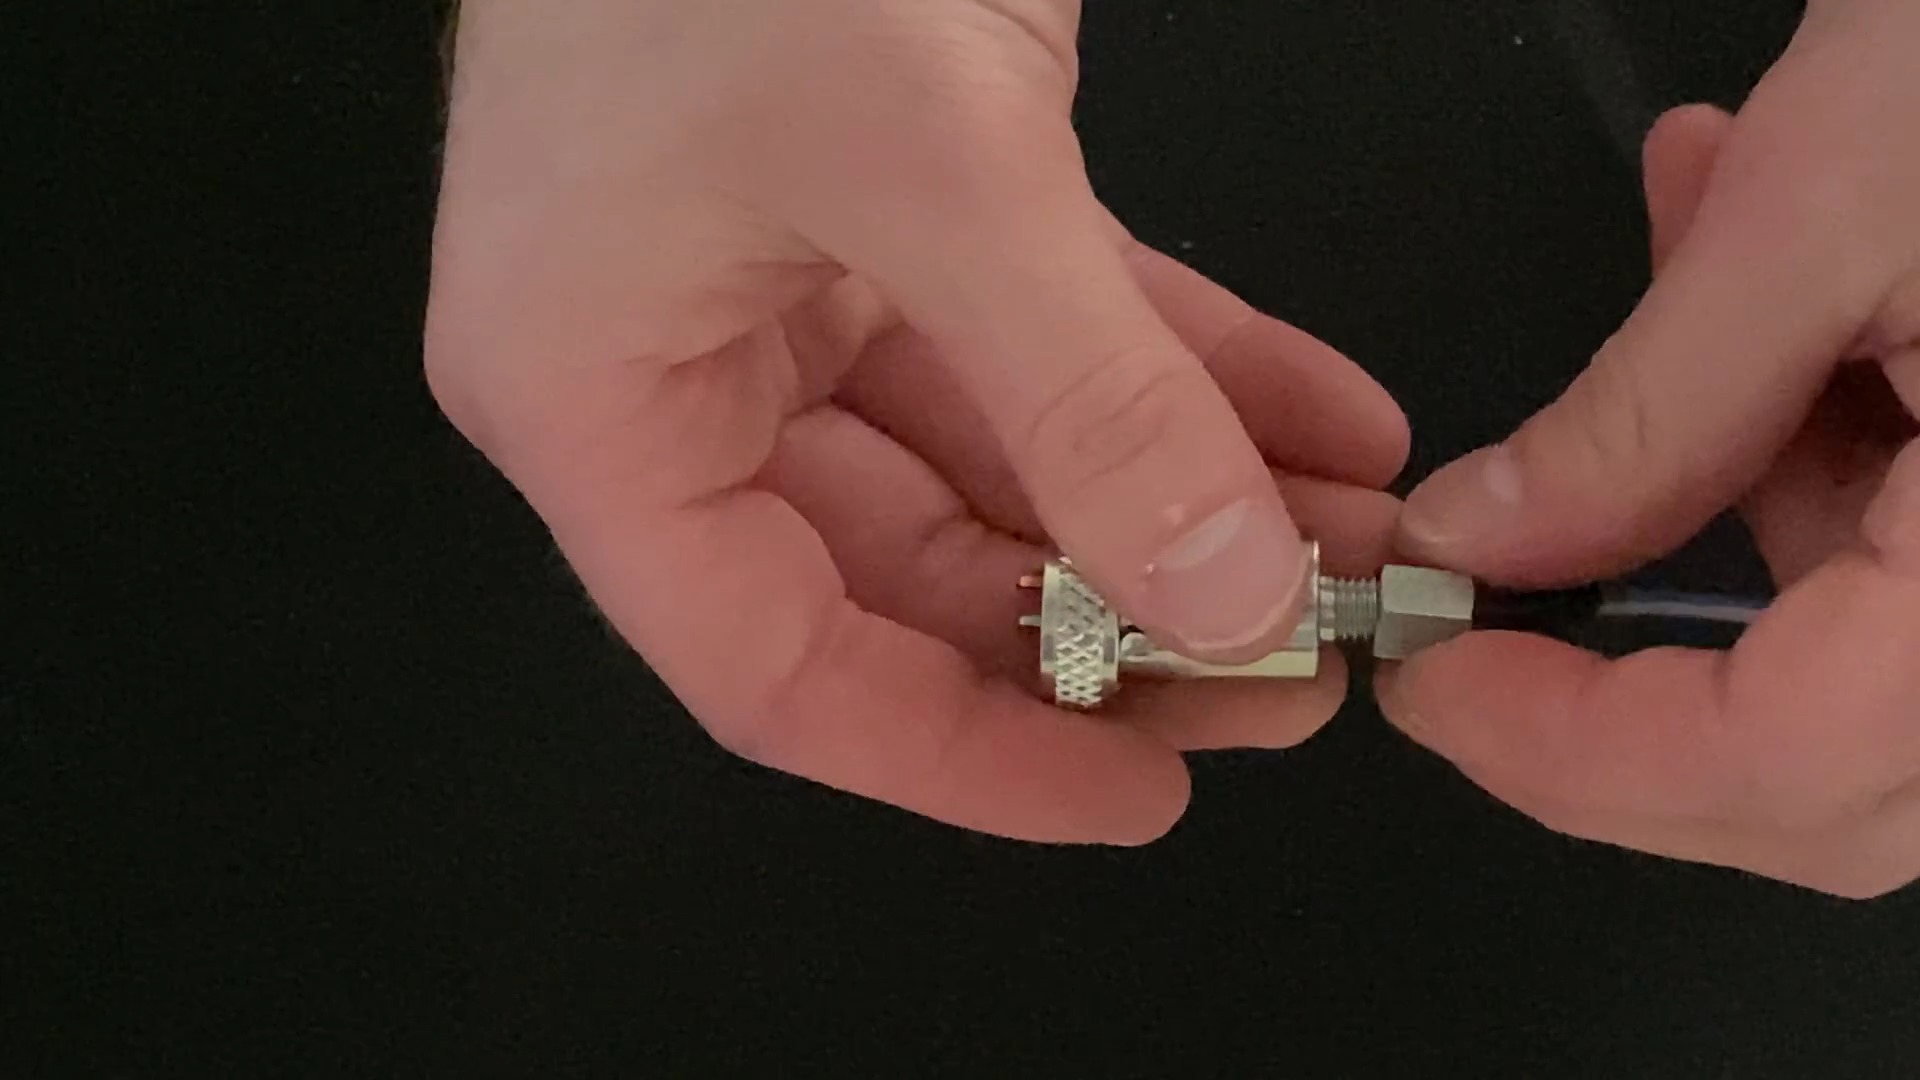
Make sure to tighten the nut with the wrench.
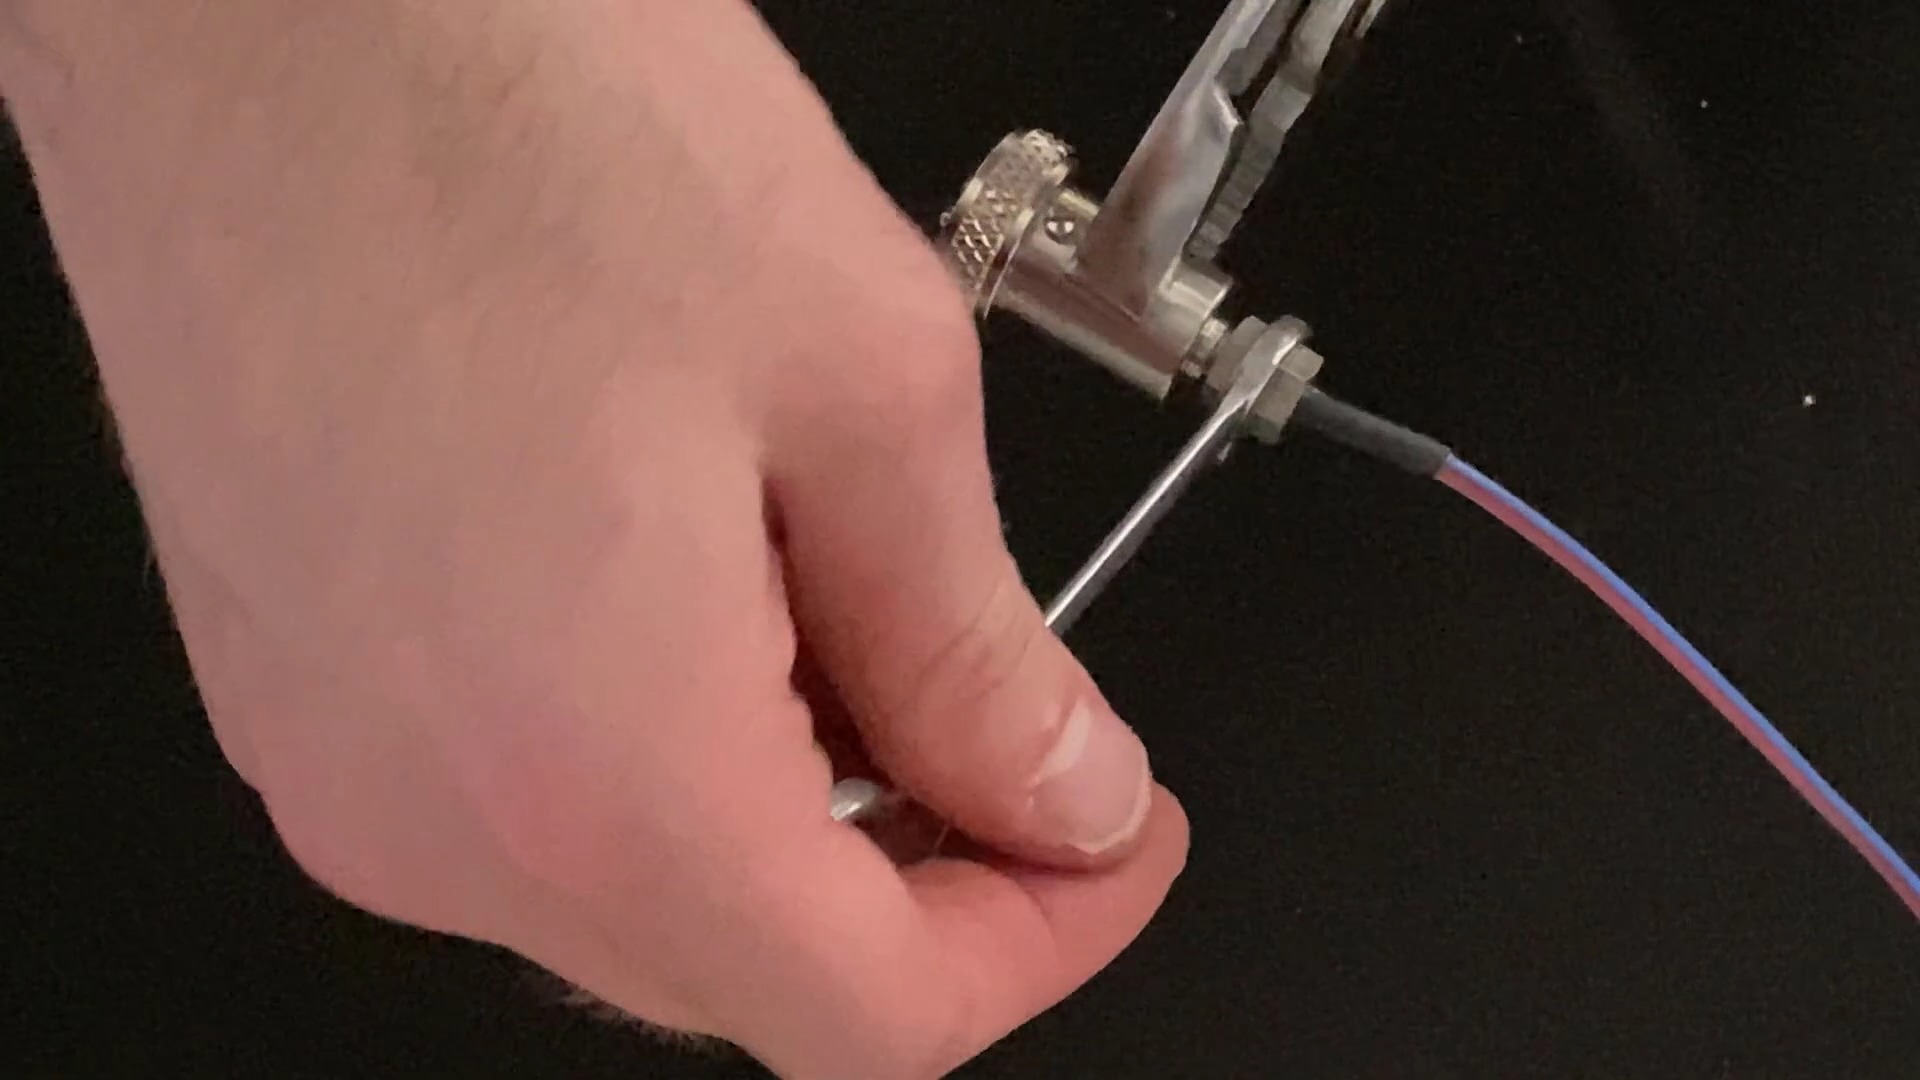
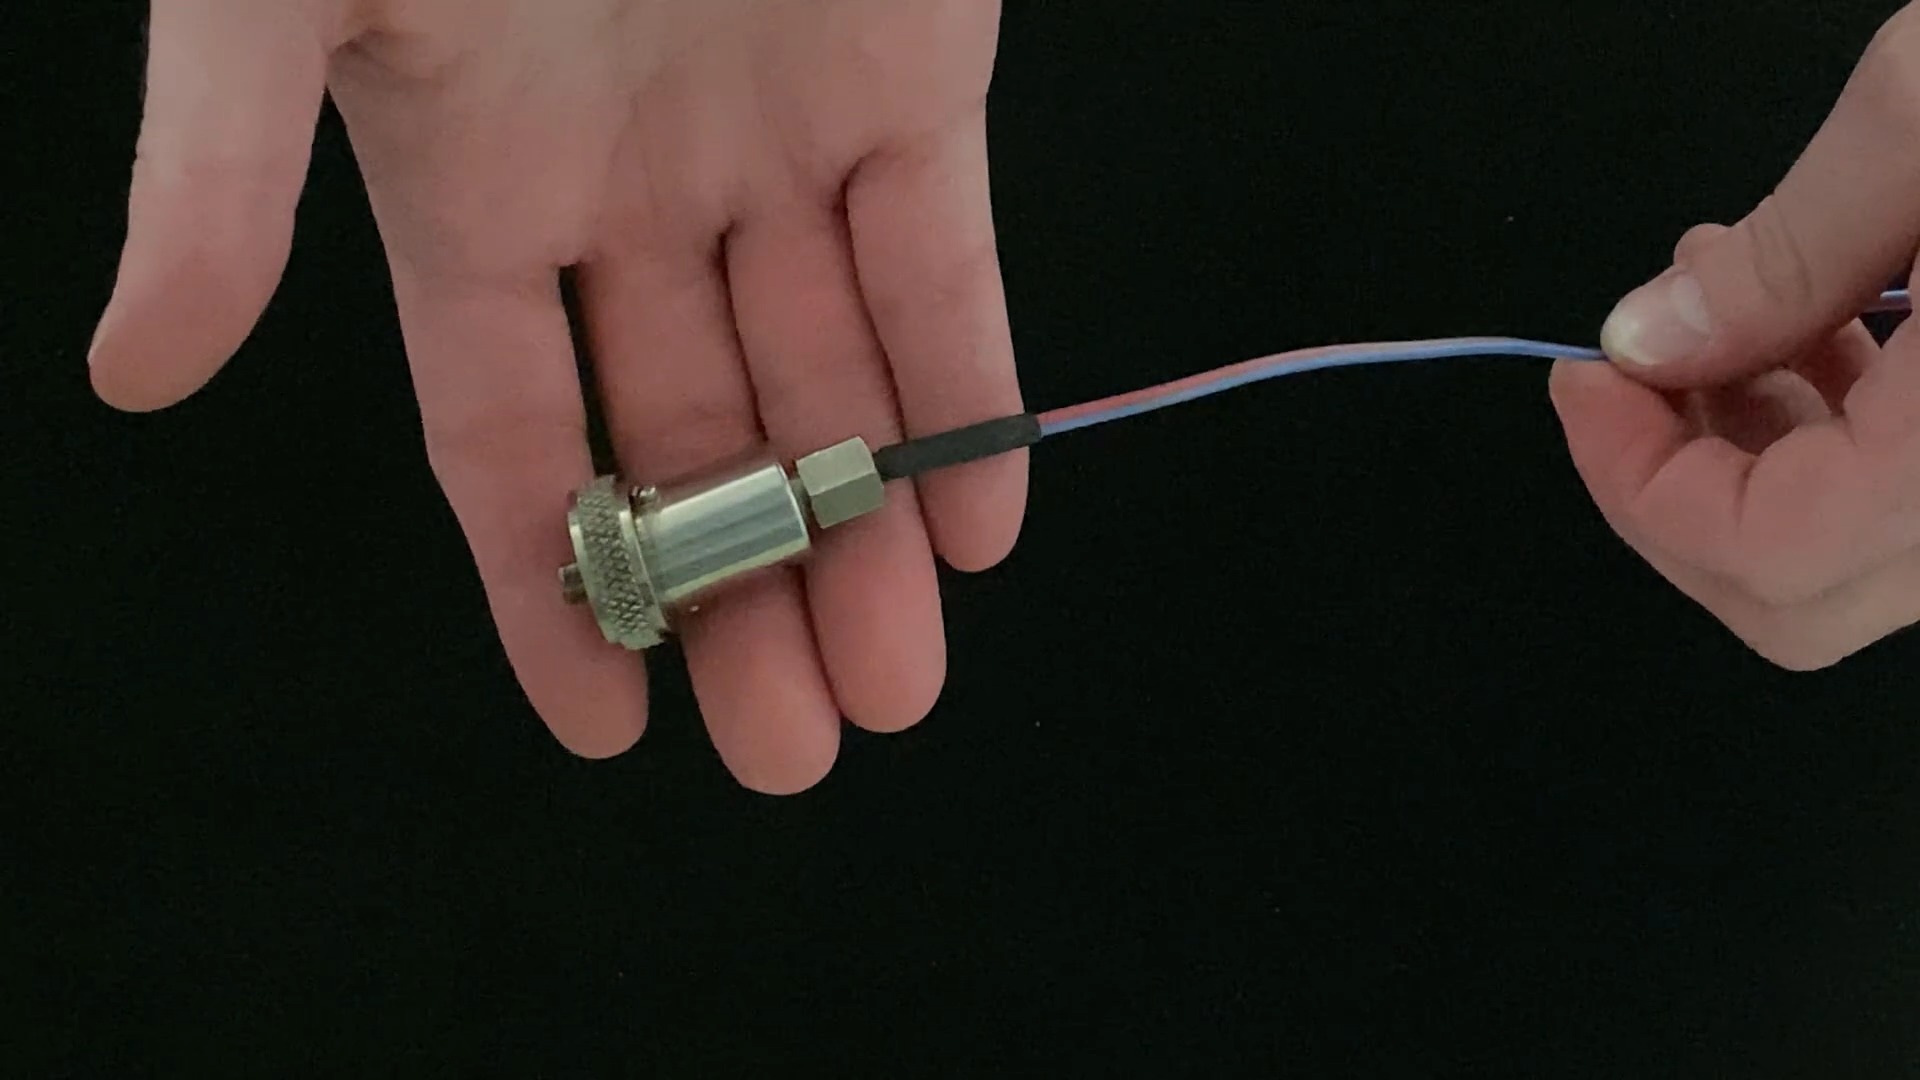
The thermocouple connector is now finished.